Configuration
The ML Mapper connects a trained AutoML model to a window in your system. Once configured, the window gains a Predict button that uses the model to fill in a target field based on the values entered in the source fields.
Accessing ML Mapper
Click the ML Mapper icon in the left sidebar. The page is divided into three panels:
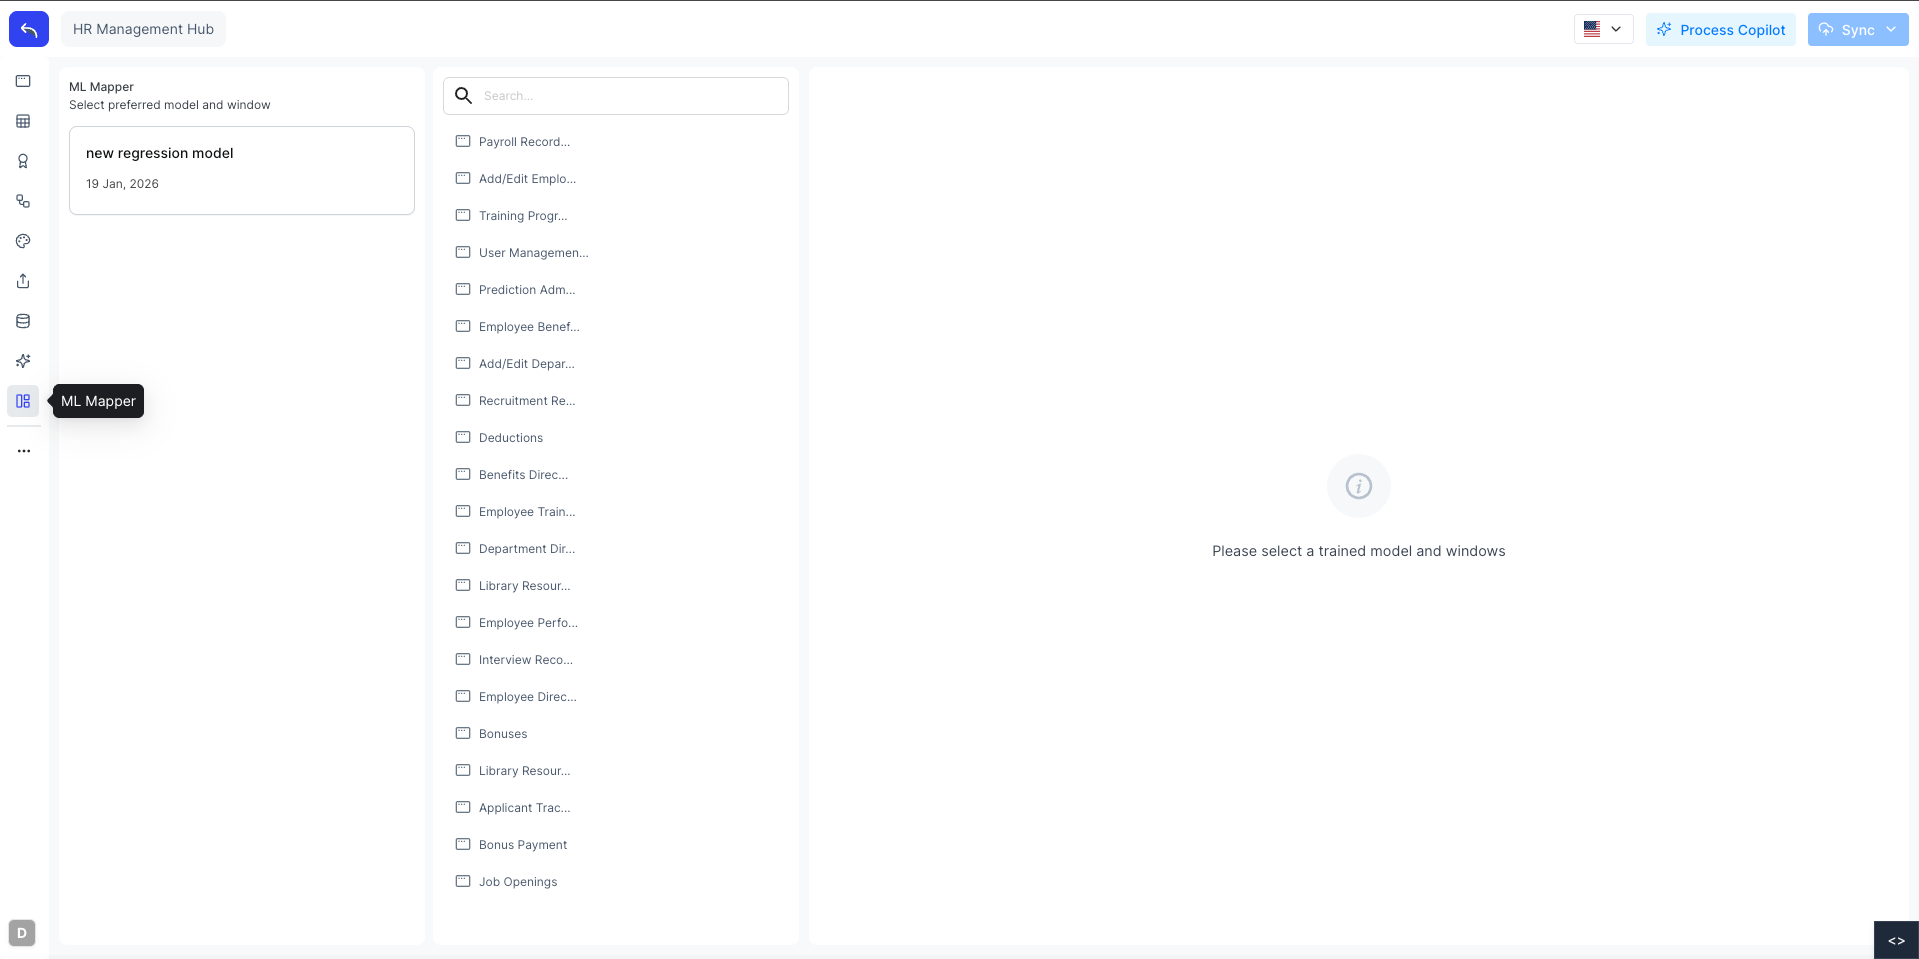
- Left panel: lists the trained ML models available in the system
- Middle panel: lists all windows in the system; select a window to configure a mapper for it
- Right panel: the configuration form, shown after selecting both a model and a window
Creating a Mapper
Select a trained model from the left panel, then select a window from the middle panel. The configuration form appears on the right.
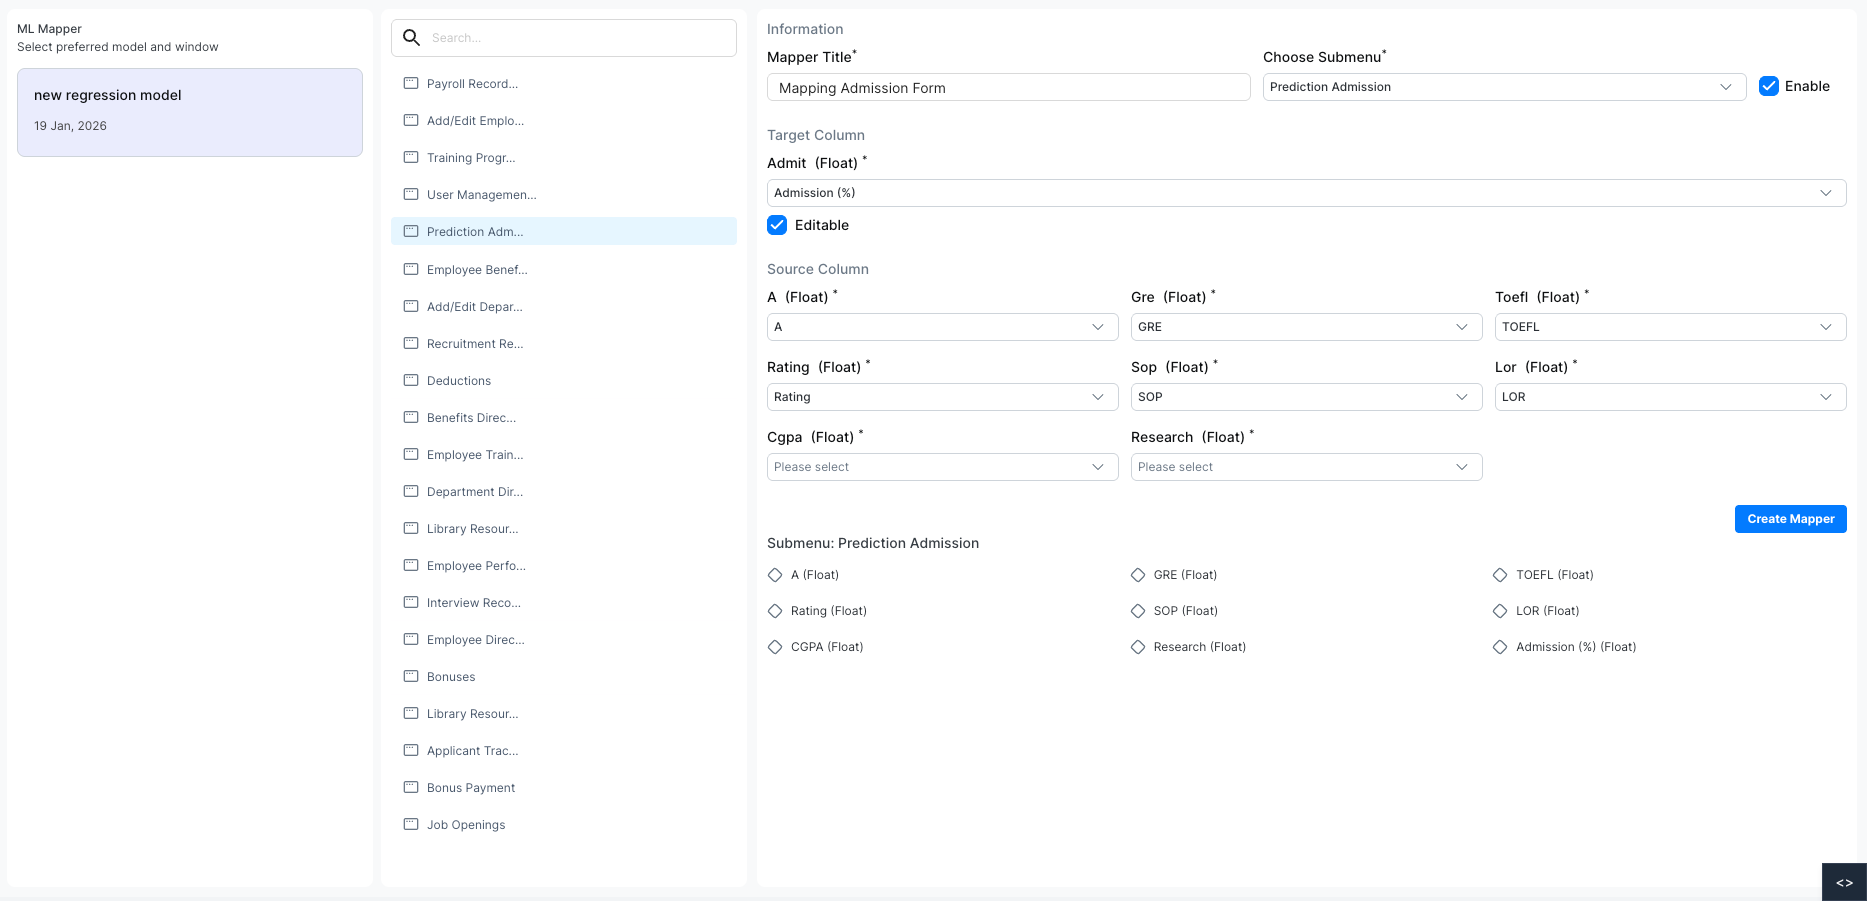
Fill in the following:
| Field | Description |
|---|---|
| Mapper Title | A name for this mapper |
| Choose Submenu | The submenu (window form) where the Predict button will appear |
| Enable | Toggle to activate the mapper |
| Target Column | The model's output field — the field that gets filled with the prediction |
| Editable | If checked, users can manually edit the predicted value before submitting |
| Source Columns | Map each model input feature to the corresponding field in the window |
The Submenu section at the bottom shows all the fields available in the selected submenu for reference.
Click Create Mapper when done.
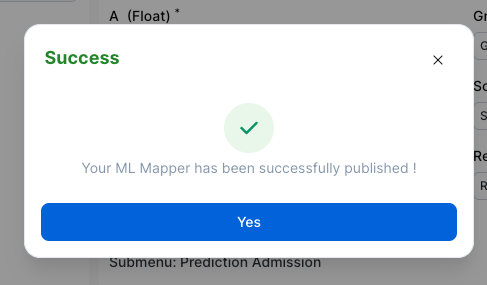
The mapper is published and the Predict button becomes available on the configured window form.