Menus and Windows
The Window Builder is where you manage the structure of your application, create menus, assign windows to them, organise their order in the sidebar, and control quick access shortcuts.
Accessing the Window Builder
Open BrainGrid Controller
Navigate to your system and open the BrainGrid Controller from the sidebar.
Go to Window Creation
Inside BrainGrid, select Window Creation from the top navigation tabs.
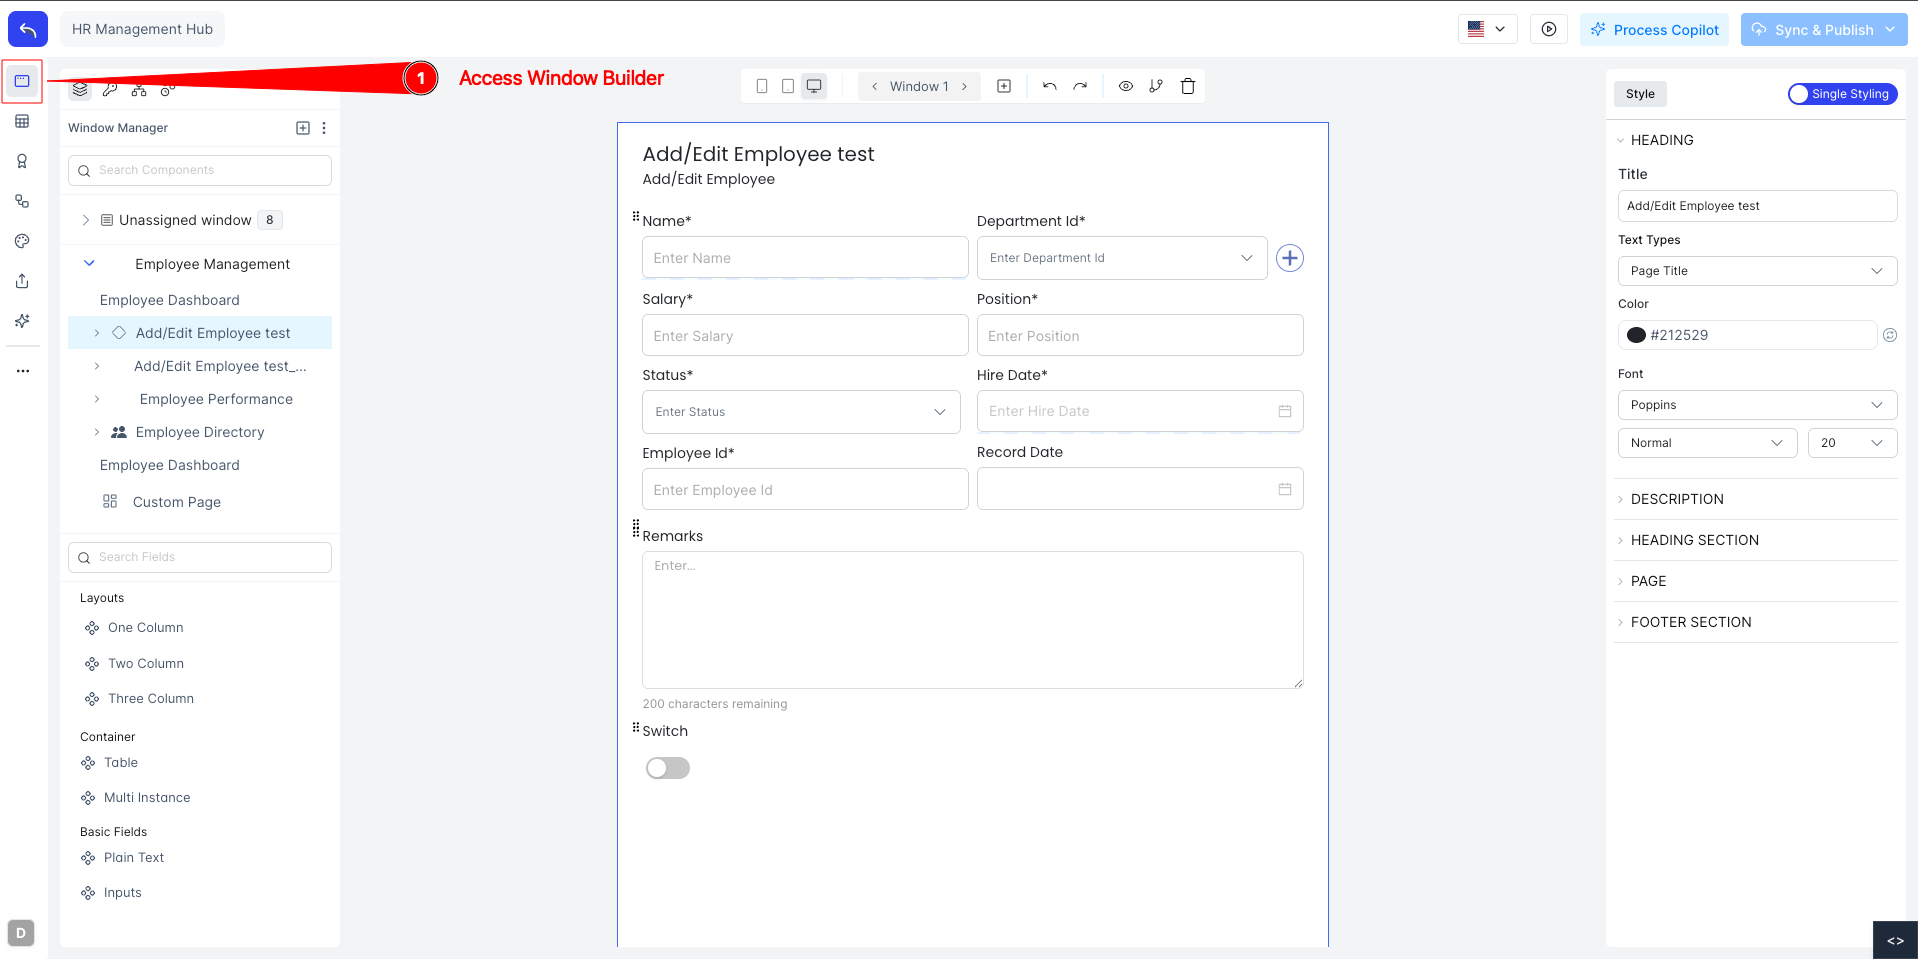
Open Menus & Windows
Click the Menus & Windows tab. The Window Builder will load showing all your existing menus and their assigned windows.
Viewing All Menus and Windows
Once inside the Window Builder you can see the full list of menus on the left. Each menu can be expanded to reveal the windows assigned to it.
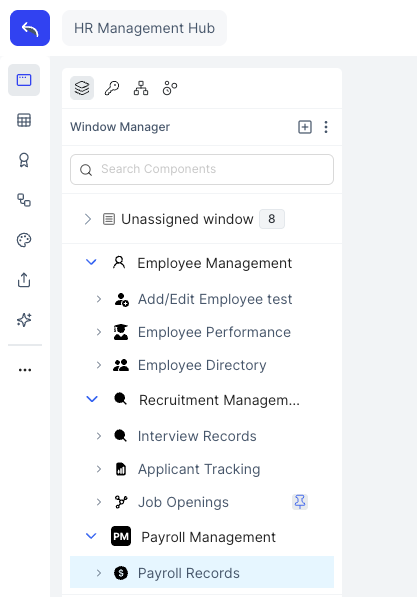
Menus appear in the sidebar of your application in the same order they are listed here. Reordering them here and syncing changes the sidebar immediately.
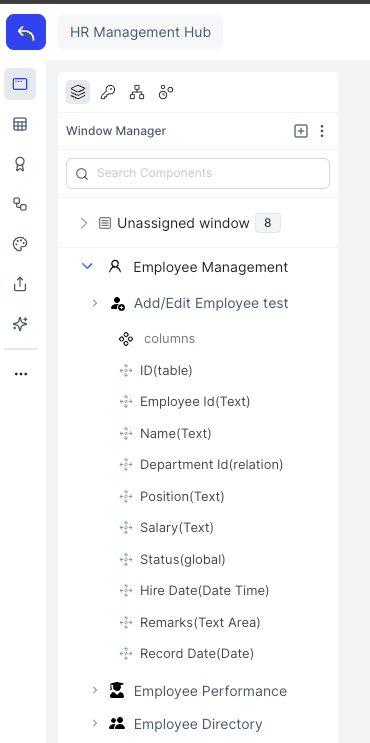
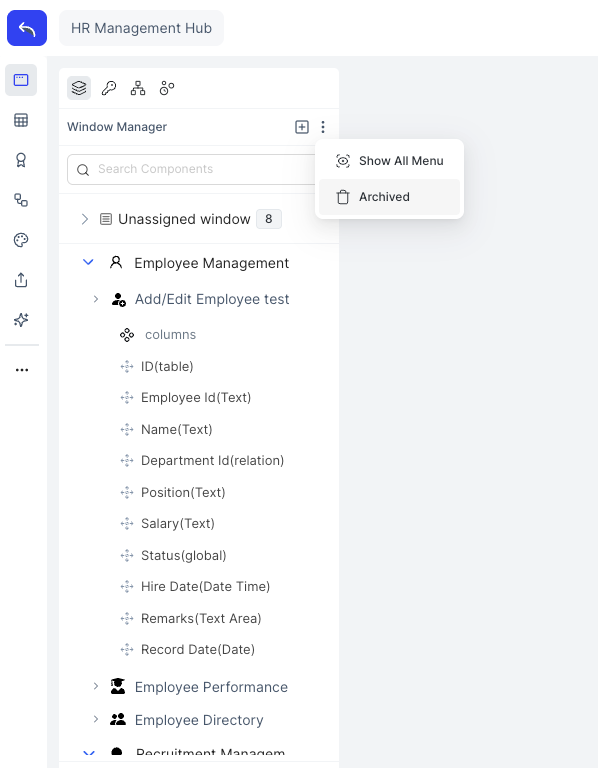
Expanding a Window to View Columns
Click the arrow next to any window to expand it. The expanded view shows all the columns (fields) defined for that window along with their data types.
Drag & Drop to Reorder
You can drag any menu or window up or down in the list to change its position.
- Reordering a menu changes its position in the application sidebar.
- Reordering a window within a menu changes the order it appears under that menu in the sidebar.
Click on the "Sync" Button to sync to sidebar instantly.
Menu Operations
Creating a Menu
- Click the + Add Menu button at the top of the menu list.
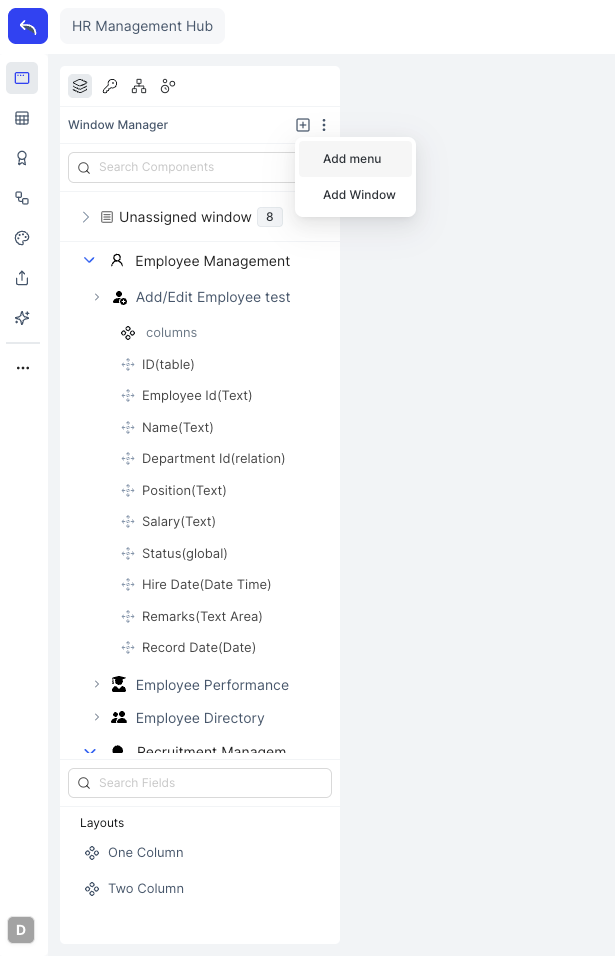
- Enter a name, description and icon for the menu in the modal.
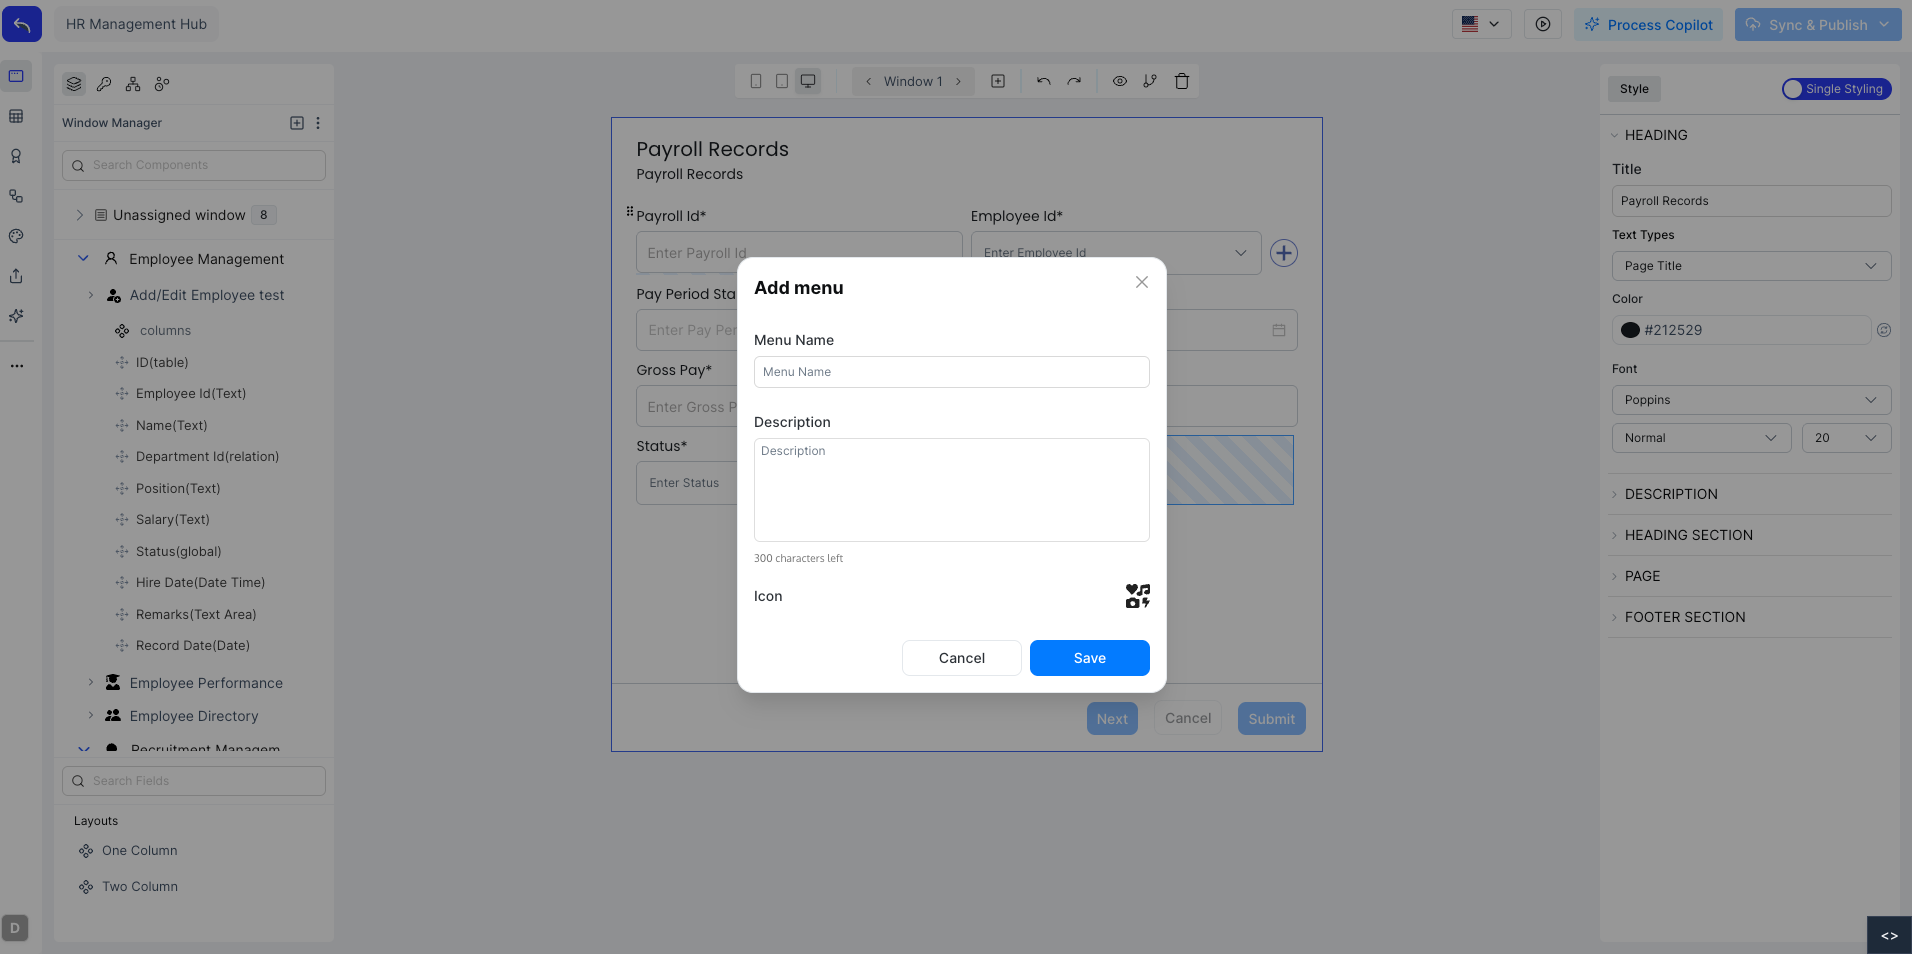
- Click Save.
The new menu appears at the bottom of the list. Drag it to the desired position.
Window Operations
Creating a Window
- Click + Add Window inside the desired menu, or use the global + New Window button.
- Enter the window name and description.
- Enter the other necessary information in the multi step form.
- Click Save.
The newly created window will be in Unassigned Window section. Drag and drop the window to respective menu (or leave it unassigned).

Pin / Unpin Windows (Quick Windows)
Quick Windows is a shortcut strip that gives users instant access to their most-used windows without navigating through the sidebar menu.
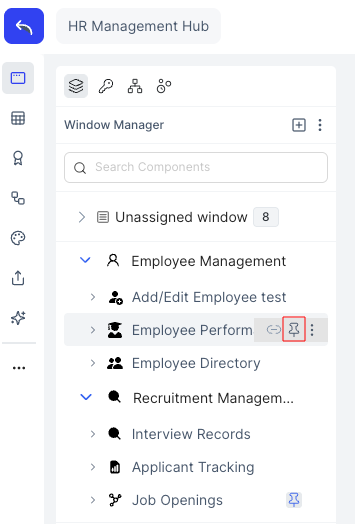
Pin a Window
- Hover over a window in the list.
- Click the Pin (📌) icon.
- Sync the changes
- The window now appears in the Quick Windows strip.
Unpin a Window
- Click the Pin icon again on a pinned window.
- Sync the changes.
- The window is removed from the Quick Windows strip but remains in its menu.
Assigning Unassigned Windows to Menus
When windows are created without a menu, or a menu is deleted, those windows appear in the Unassigned Windows panel at the bottom of the Window Builder.
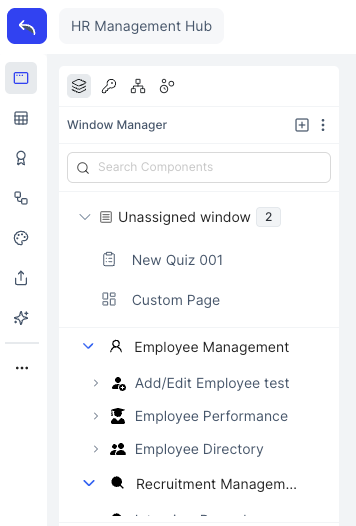
To assign them:
- Drag a window from the Unassigned Windows panel.
- Drop it onto any menu in the list above.
- The window immediately appears under that menu in the sidebar.
You can also drag windows between menus to reassign them at any time.
Show All Menus Including Feature Menus
The Window Builder shows both your custom menus and feature menus that are automatically added when platform features are enabled (such as AutoML, Business Intelligence, and Invoice Central).
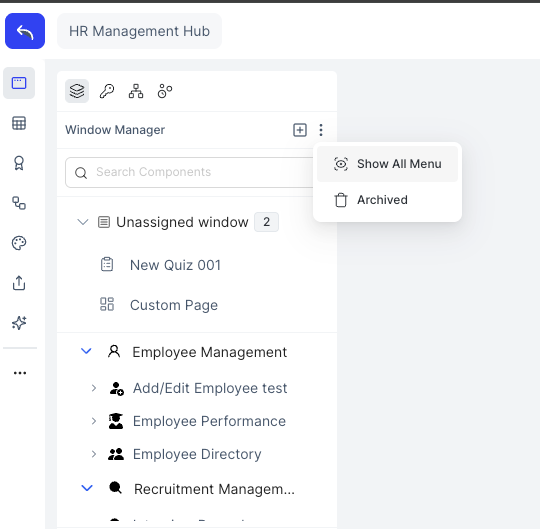
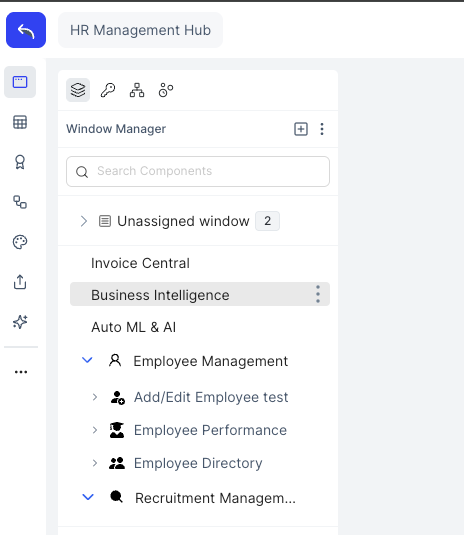
Feature menus follow the same rules, you can reorder, pin their windows, and manage visibility just like custom menus.
Archive
The Archive holds menus and windows that have been deleted. Nothing is permanently removed until you explicitly empty the archive.
How to Access Archive
- Scroll to the bottom of the Window Builder, or click the Archive tab.
- You will see: Archived Menus and Archived Windows.
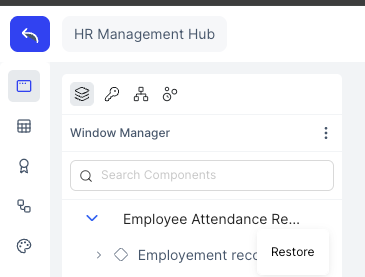
Restore a Menu or Window
- Find the item in the archive.
- Click on the (...) dot action.
- Click Restore.
- The item returns to the active list (unassigned if its original menu was also deleted).