View Orchestrator
The View Orchestrator is a free-layout canvas where you can build custom pages by dragging and dropping elements from different sources. The resulting page is published as a window and can be assigned to any menu in your system.
Accessing View Orchestrator
Click the View Orchestrator icon in the left sidebar.
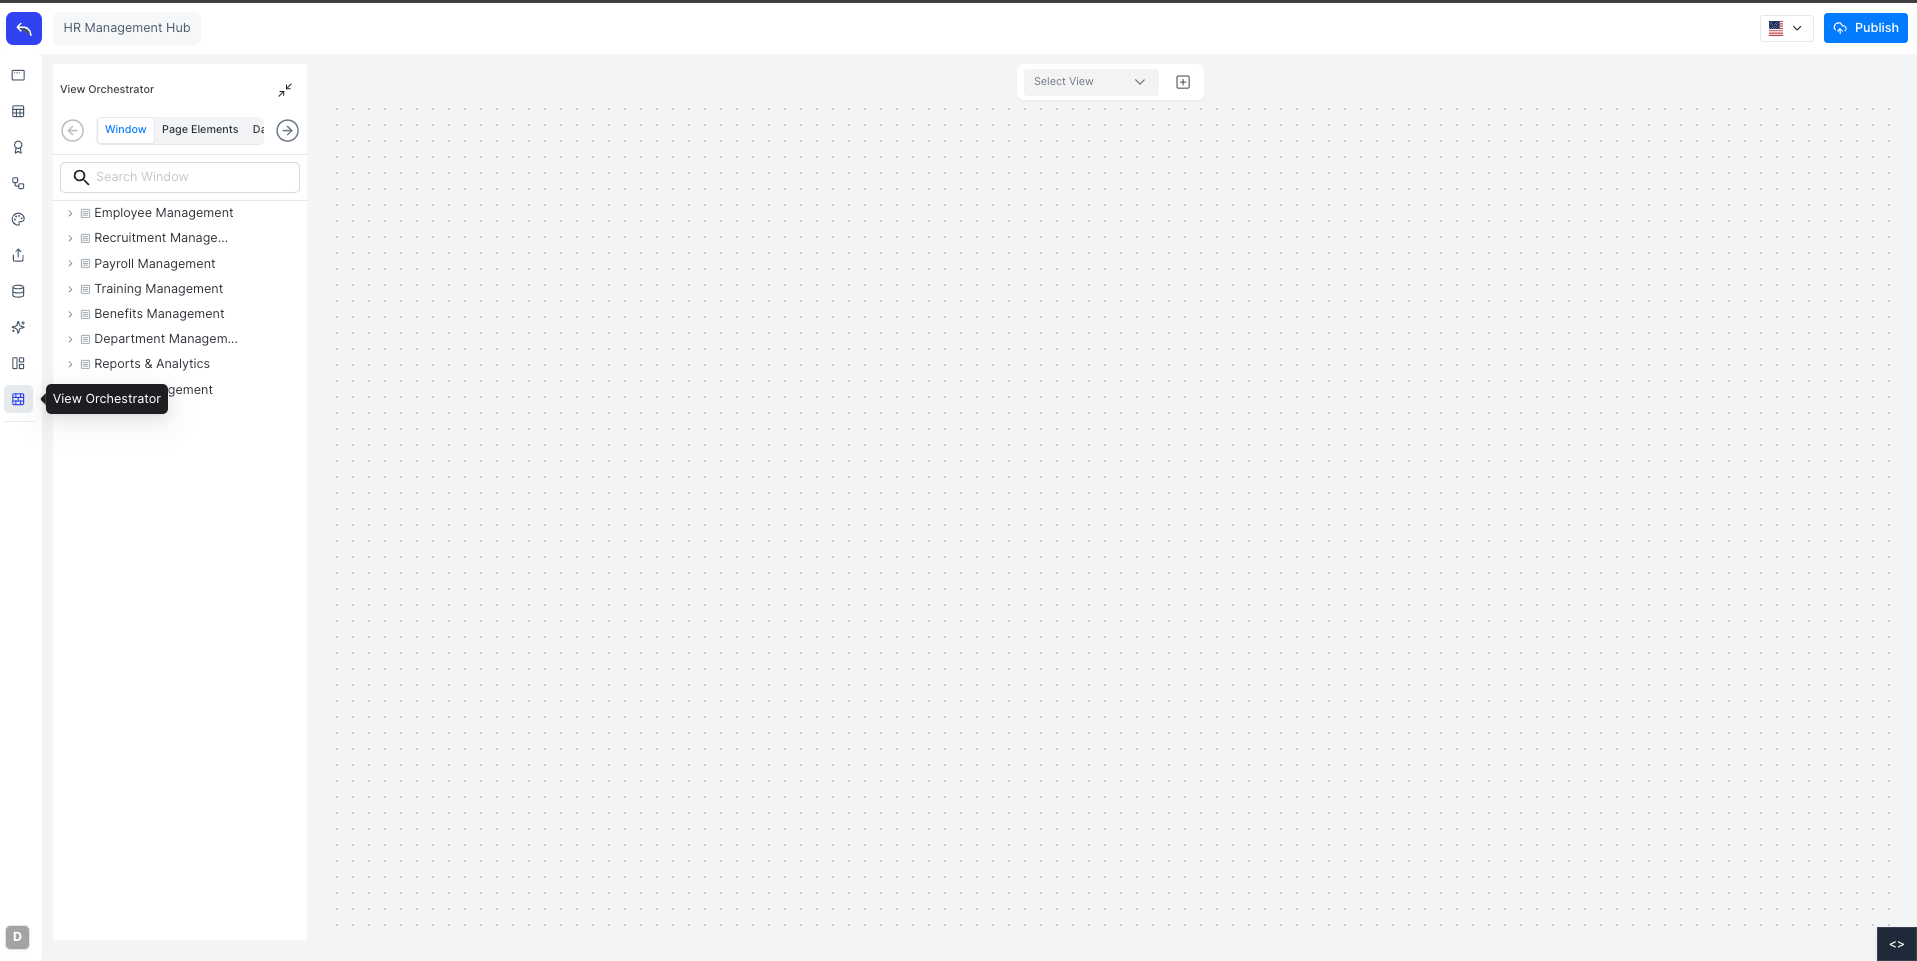
The left panel shows tabs for the different element types you can add to the canvas. Use the Select View dropdown at the top to switch between saved orchestration views, or click + to create a new one.
Creating a View
Click + next to the Select View dropdown to open the Create New View dialog.

Enter a Name and optional Description, then click Submit. The new canvas opens ready for editing.
Building the Canvas
Drag any element from the left panel onto the canvas. Elements can be freely positioned and resized on the grid.
The left panel has the following source tabs:
| Tab | Elements available |
|---|---|
| Window | All windows in the system, shown as a menu tree. Each window can be placed as a table view or a page (form) view |
| Page Elements | Static content blocks such as text and images |
| Dashboard Components | Predefined widgets: Quick Window, Notifications, Active Users, Inactive Users, Upcoming Events, New Users, Recent Activities, FAQ, Total Modal, Used Modal, Unused Modal |
| Charts | Charts created in Business Intelligence and charts from AI models |
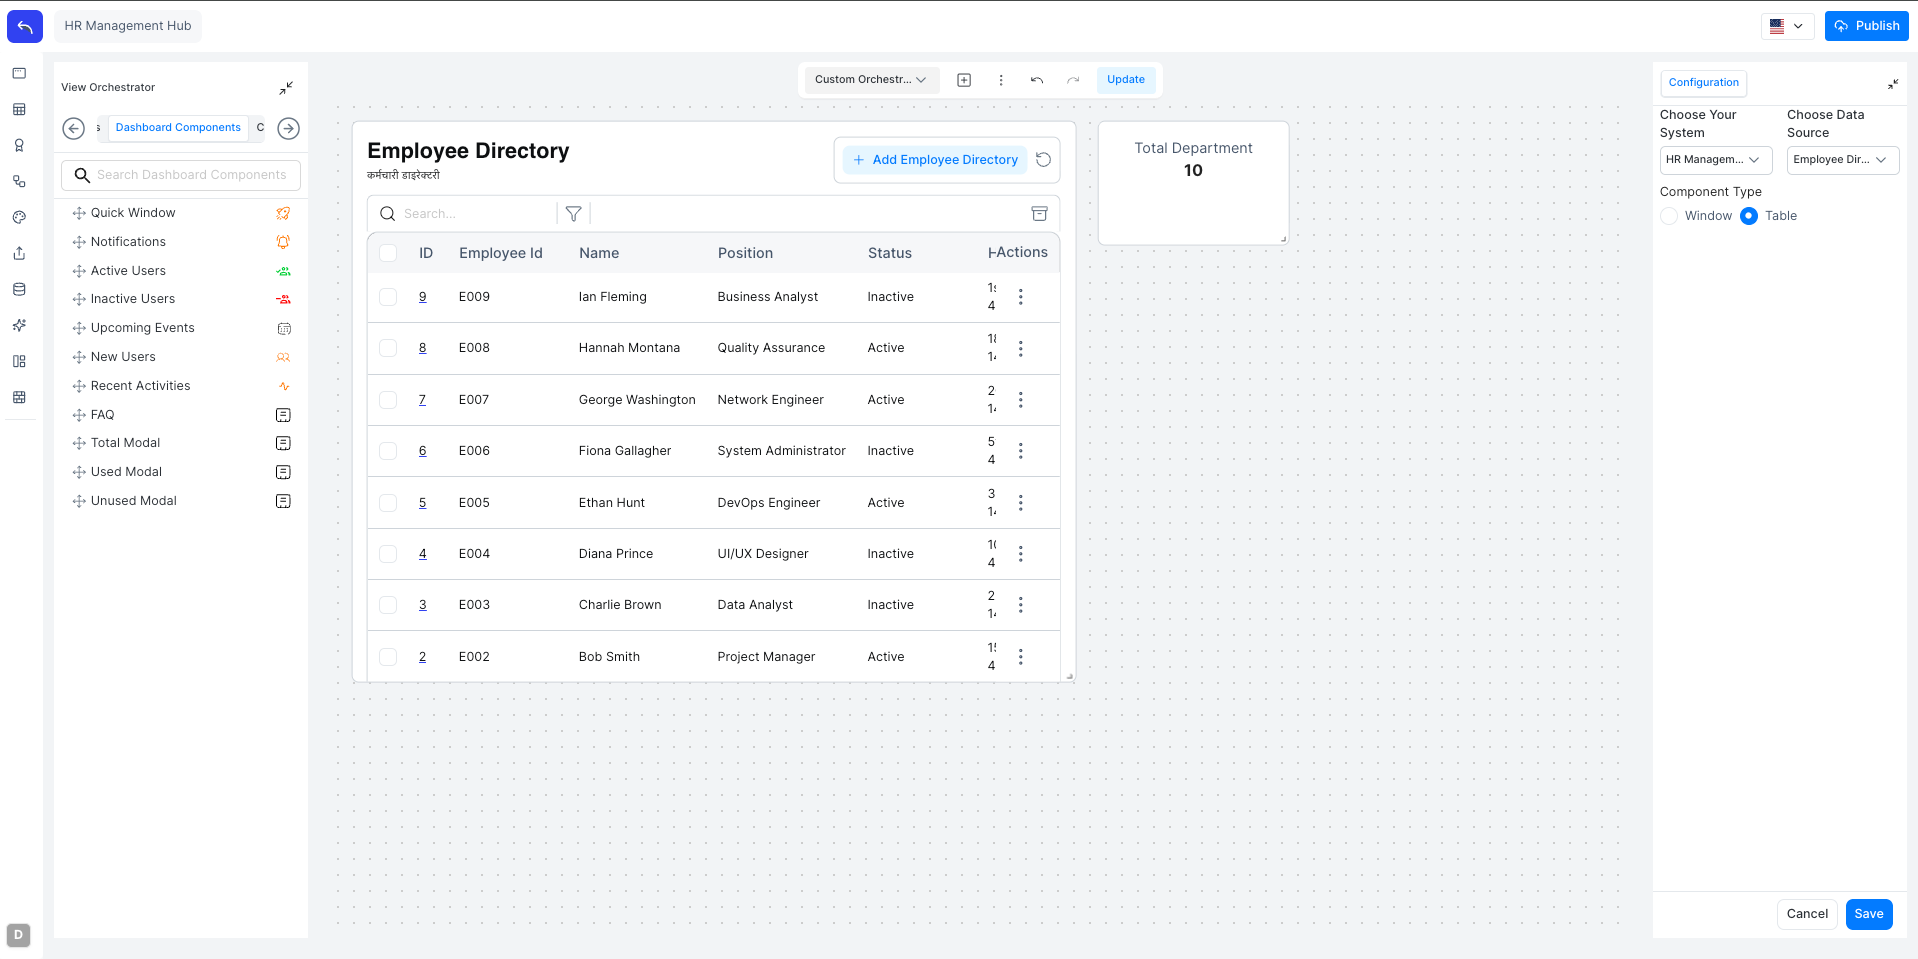
Configuring a Placed Element
When you place a window element on the canvas, a Configuration panel opens on the right. Select the system and data source, then choose whether to display it as a Window (form view) or Table view.
Publishing
Click Publish in the top bar to save and publish the orchestration page. After publishing, the page appears in the unassigned windows section. Drag and drop it into the desired menu to make it accessible to users.
Changes to an existing orchestration view are saved with the Update button in the top bar.