Email Configuration
Overview
The Email Configuration page allows users to configure email providers such as SMTP, Gmail, Office 365, and AWS.
Users can configure multiple email providers and select one as the default for sending notifications from Dalfin.
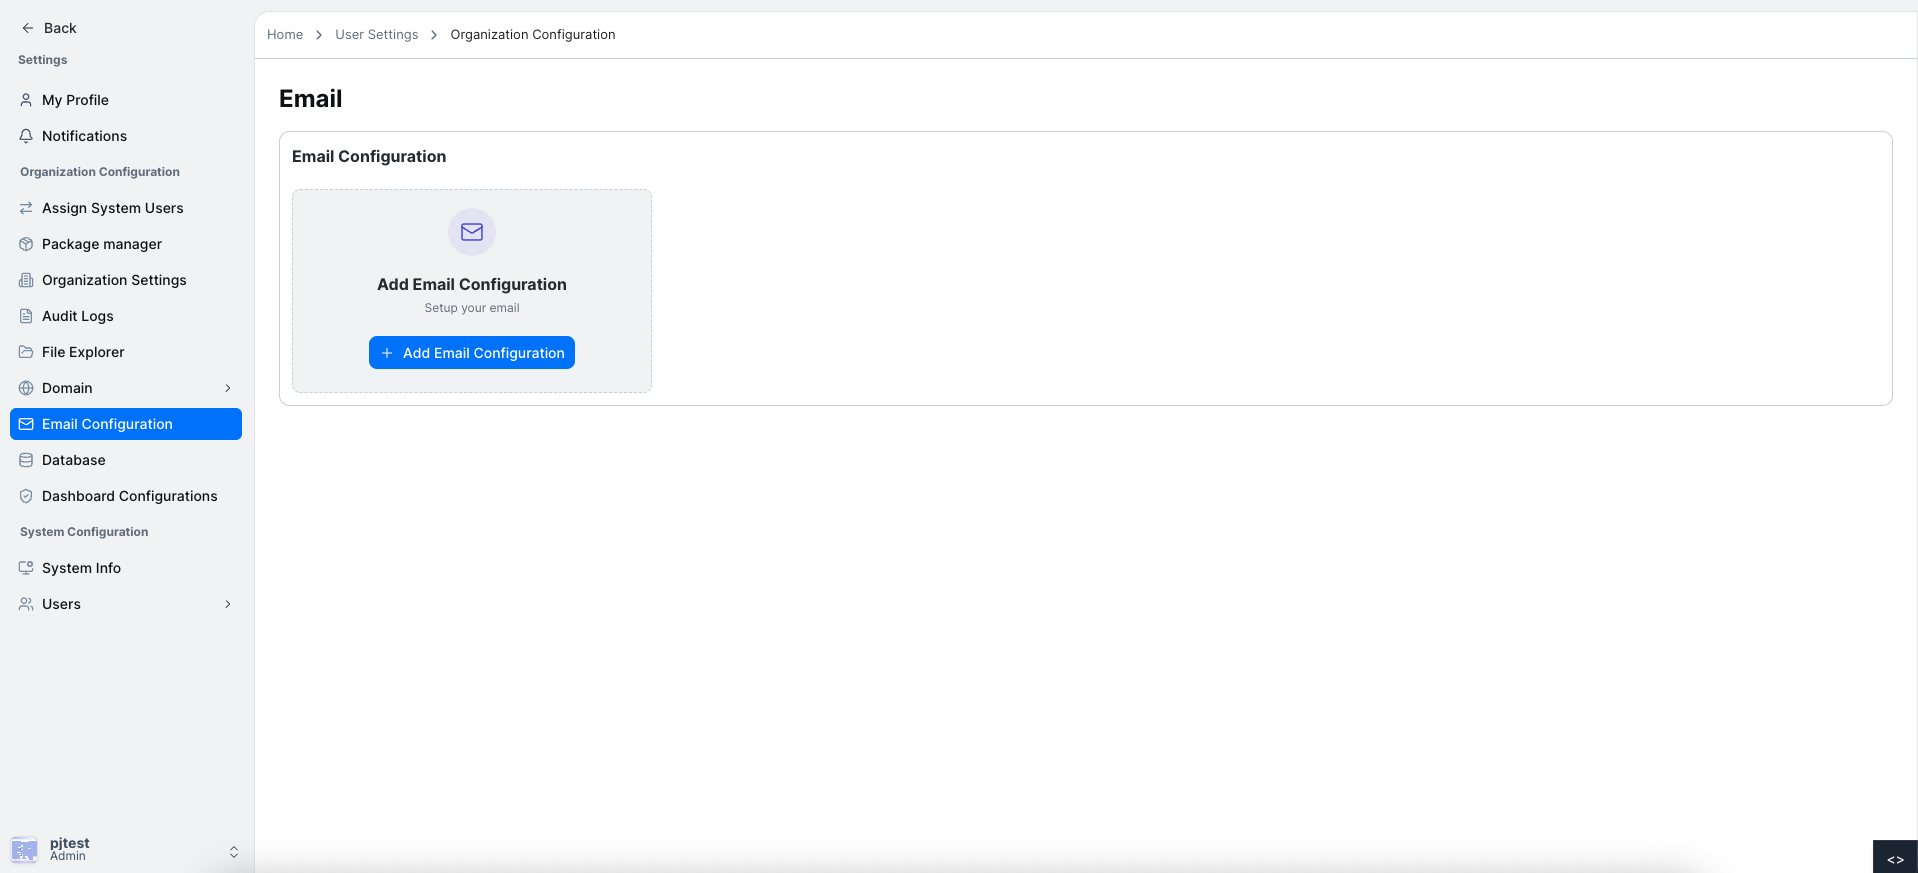
Add Email Configuration
- Click Add Email Configuration
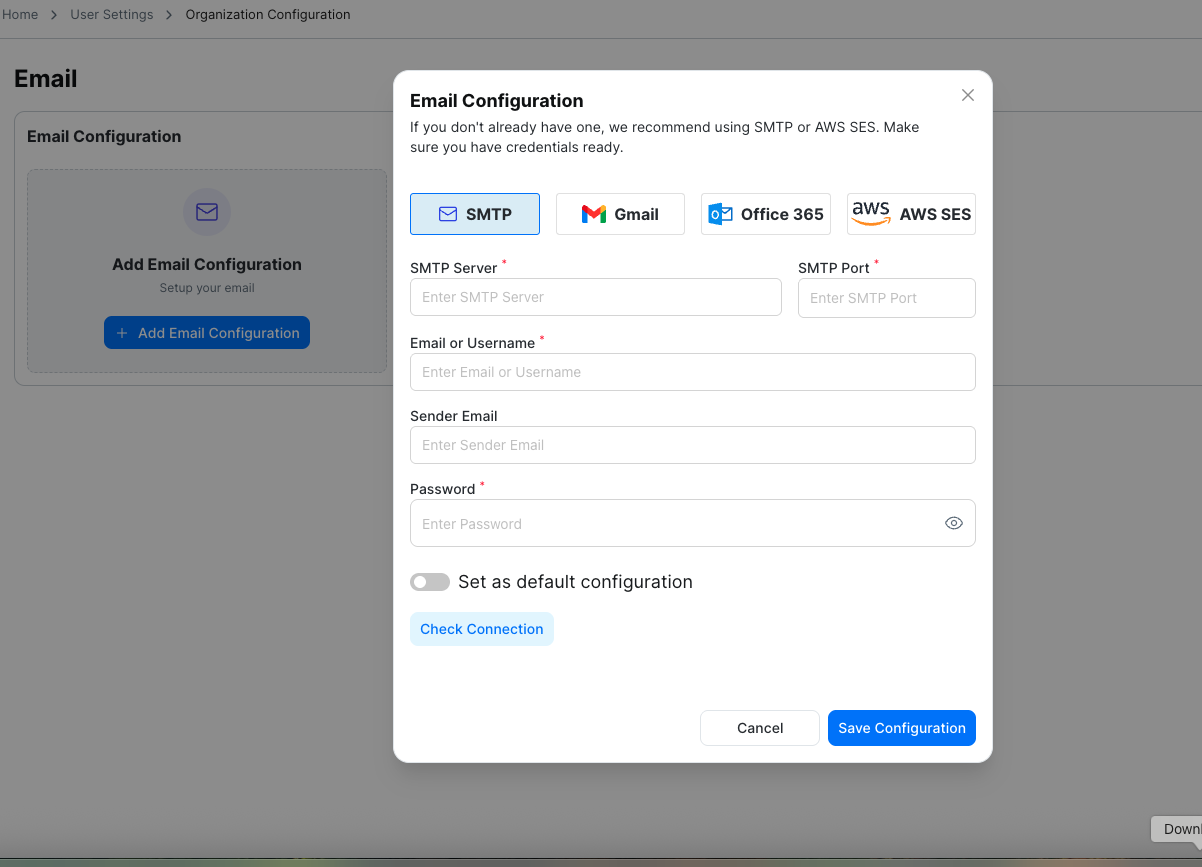
- A form appears with provider tabs
- Select the provider you want to configure
Provider Configuration
SMTP Configuration
Fields
- SMTP Server
- SMTP Port
- Email or Username
- Sender Email
- Password
- Set as Default
- Check Connection
Saving Email Configuration
- Click Save Configuration
- Confirm the success message
- The configuration appears in the email configuration list
Ensure the correct configuration is set as default because it will be used for sending system notifications.