User Management – User Departments
Overview
The User Department feature allows administrators with system configuration privileges to organize users into departments. Each department includes a name and an optional description to help identify its purpose.
User departments help structure users within the organization and improve the management of permissions and workflows.
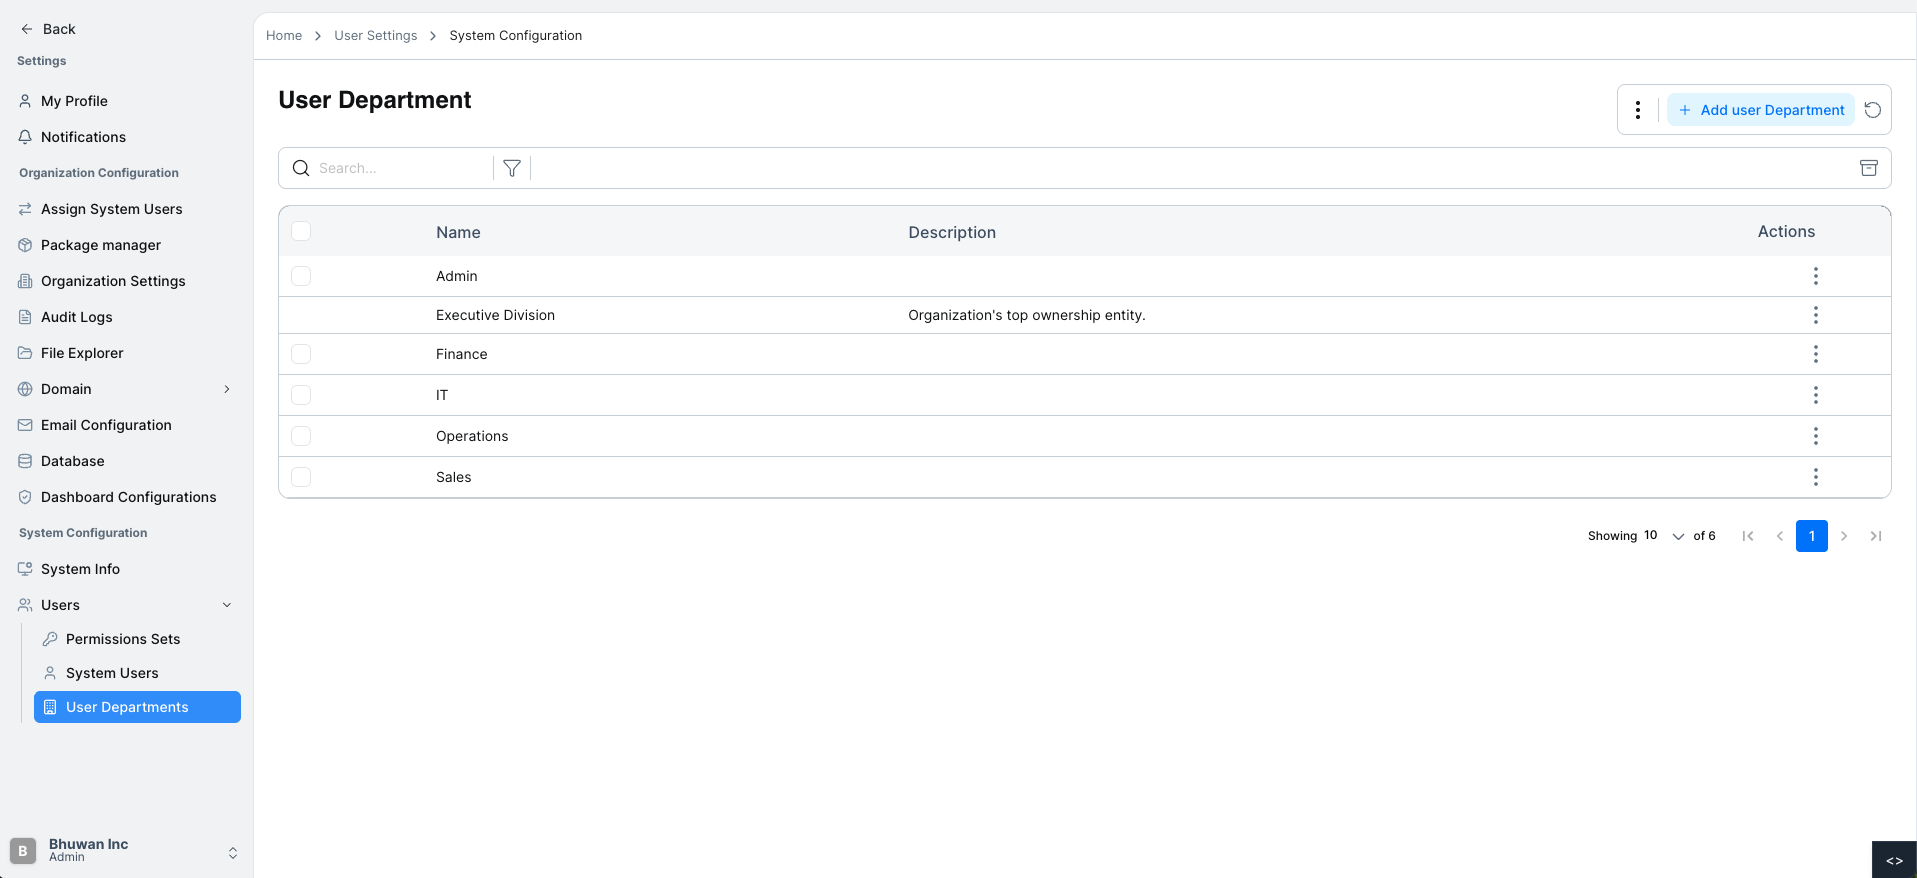
Viewing User Departments When logged in with system configuration privileges:
- Navigate to Users.
- Select User Departments from the dropdown.
You will see a table containing:
- Department Name
- Description
- Actions
Adding a New User Department
Administrators can create a department using the Add New User Department button.
Steps to Add a User Department
Open User Department
Navigate to User Department.
Click Add User Department
Click the Add User Department button.
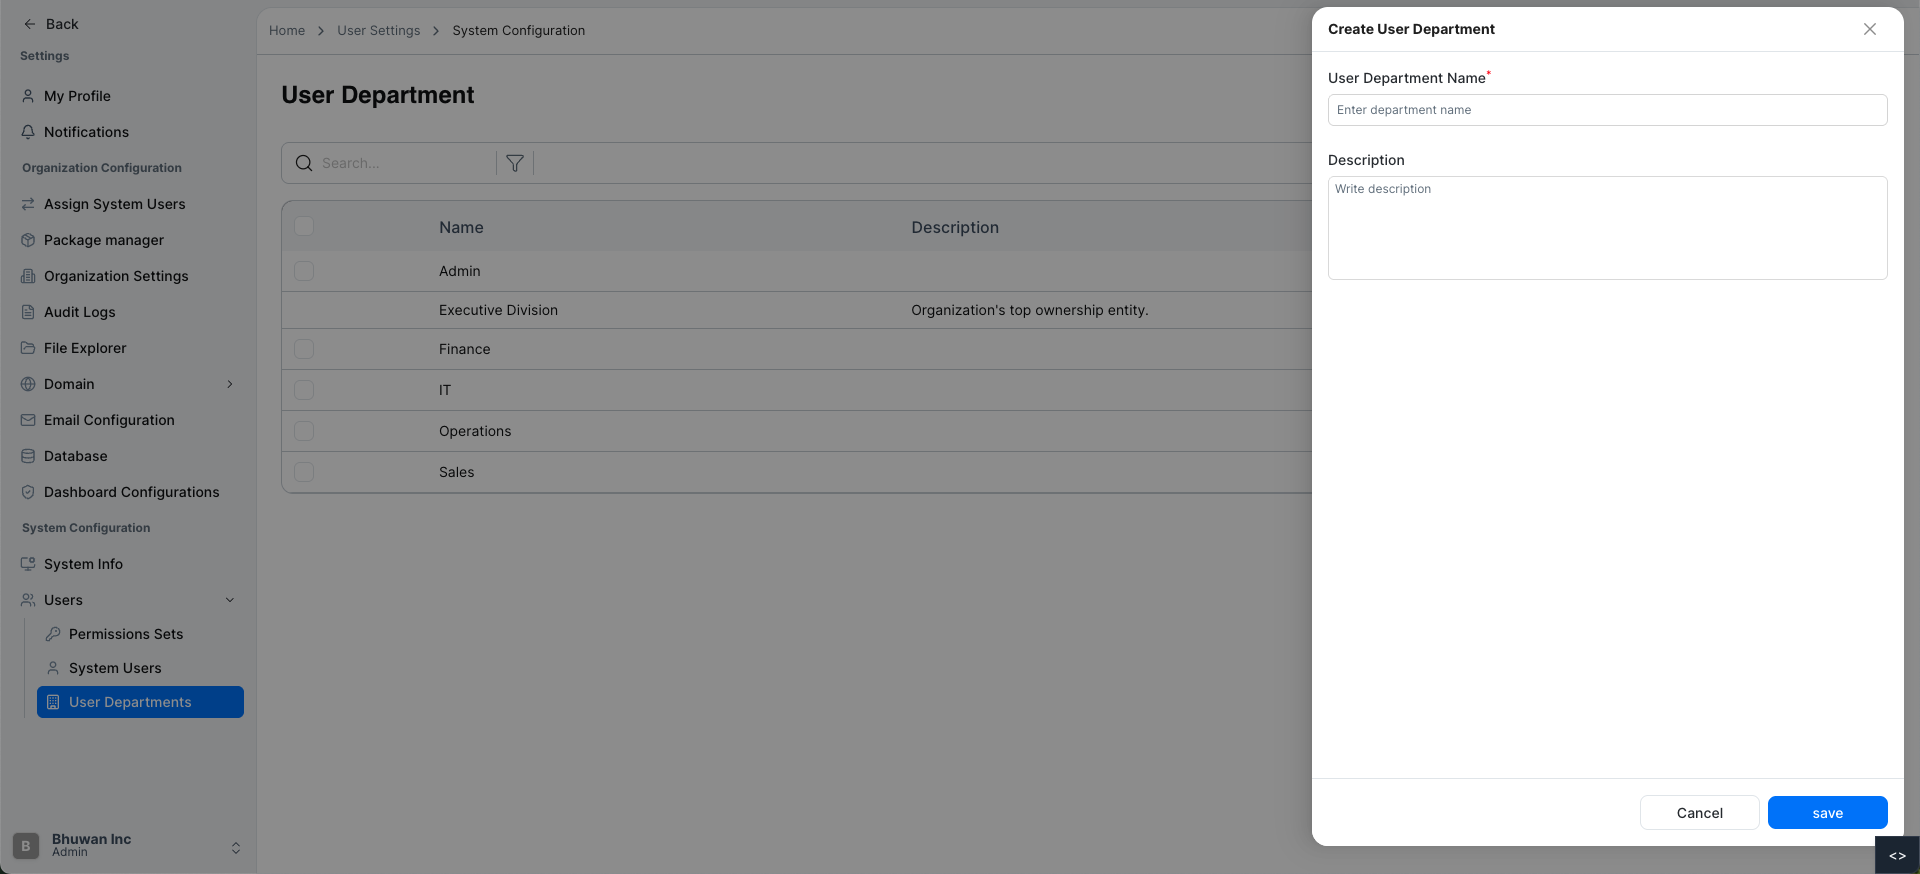
Fill in the Department Details
A side popup form appears with the following fields:
- User Department Name
- Description
Save the Department
Click Save to create the department.
Once saved:
- The department is added to the list.
- A confirmation message will appear.
Refreshing the Department List
To reload the latest department data:
- Click the Refresh icon located near the Add User Department Button.
This will Refresh the list with the most recent information.
Exporting Department Data
The department list can be exported for reporting or external use.
Export to CSV
- Click the menu icon next to the Add User Department button.
- Select Export to CSV.
- The system will download the department list as a CSV file.

Searching for a User Department
If there are many departments, you can quickly find one using the search feature.
Steps to Search
Open User Department
Navigate to User Department.
Enter Search Term
Type the department name in the search bar.
View Results
Matching departments will appear in the list.
Filtering for a User Department
You can filter the department list based on its status to quickly find specific records.
Available status options include:
- Active
- Inactive
Steps to Filter Departments
Open User Department
Navigate to User Department.
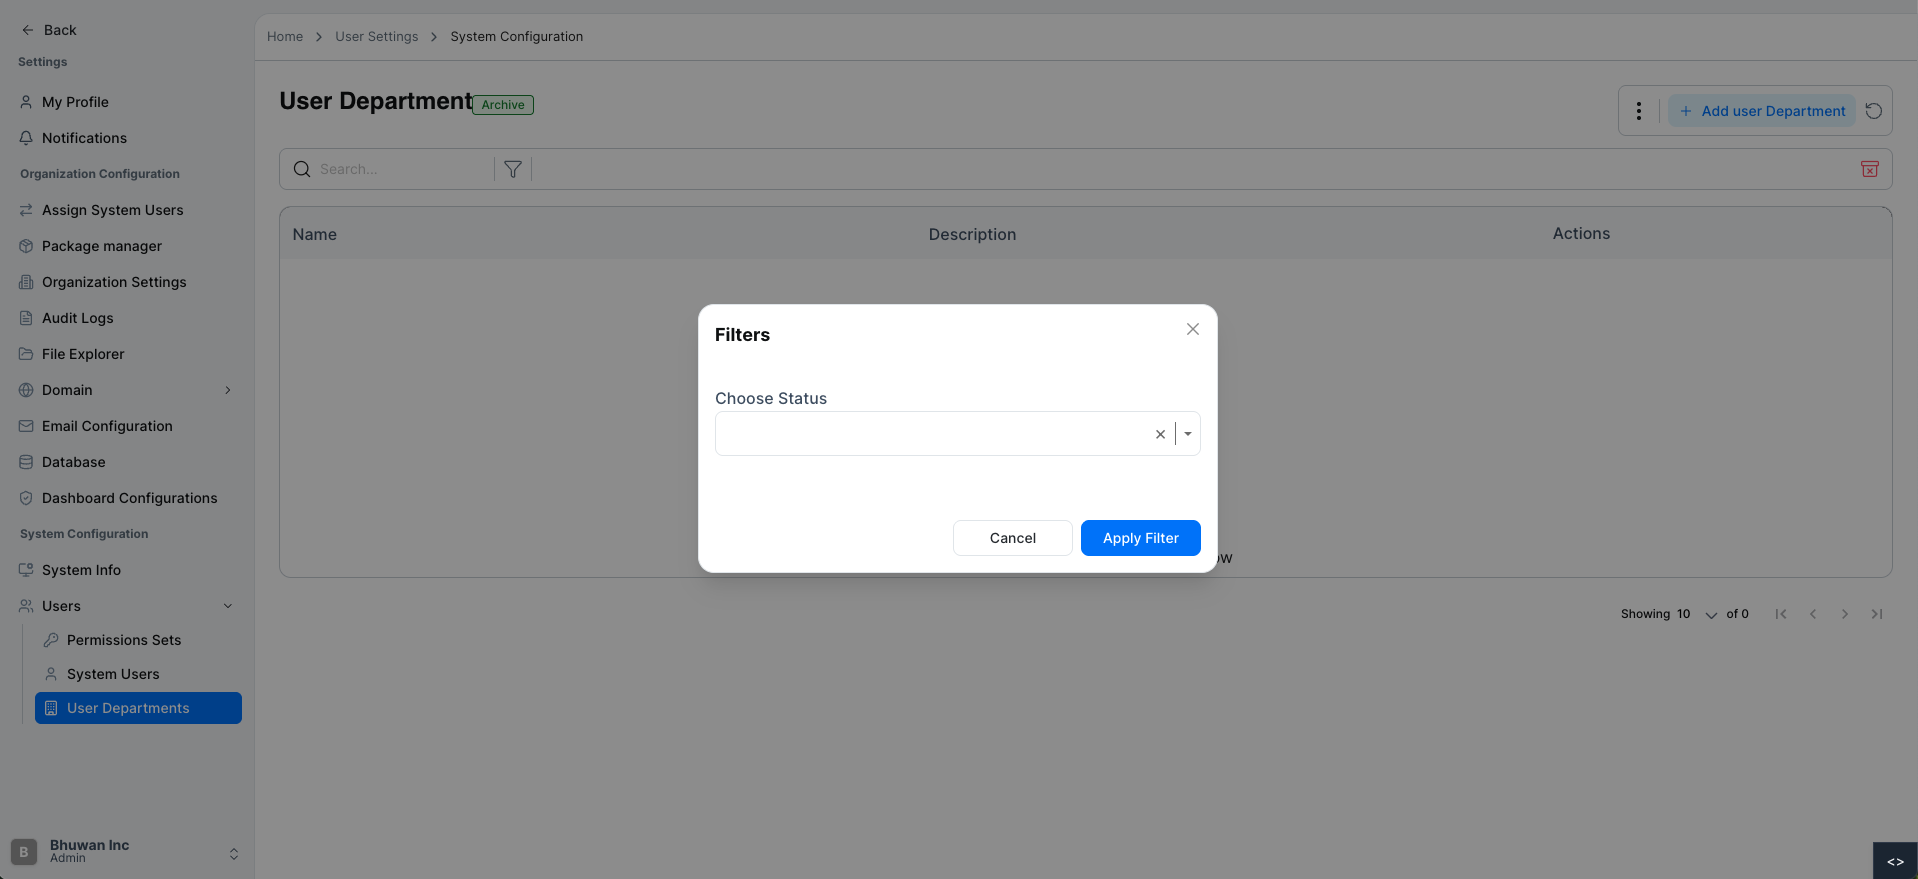
Click the Filter Icon
Click the Filter icon located above the department table.
Select Status
A filter form will appear.
Choose the desired Status from the dropdown:
- Active
- Inactive
Apply the Filter
After selecting the status, the table will display departments that match the selected filter.
Archiving All Users in a Department
You can archive all users in a department using the Archive icon. This action moves users to an archived state without deleting their data.
Steps to Archive Users
Open User Department
Navigate to User Departments.
Click the Archive Icon
Click the Archive icon located near the filter and action buttons above the table.
Archive Complete
The system archives all users in the department.
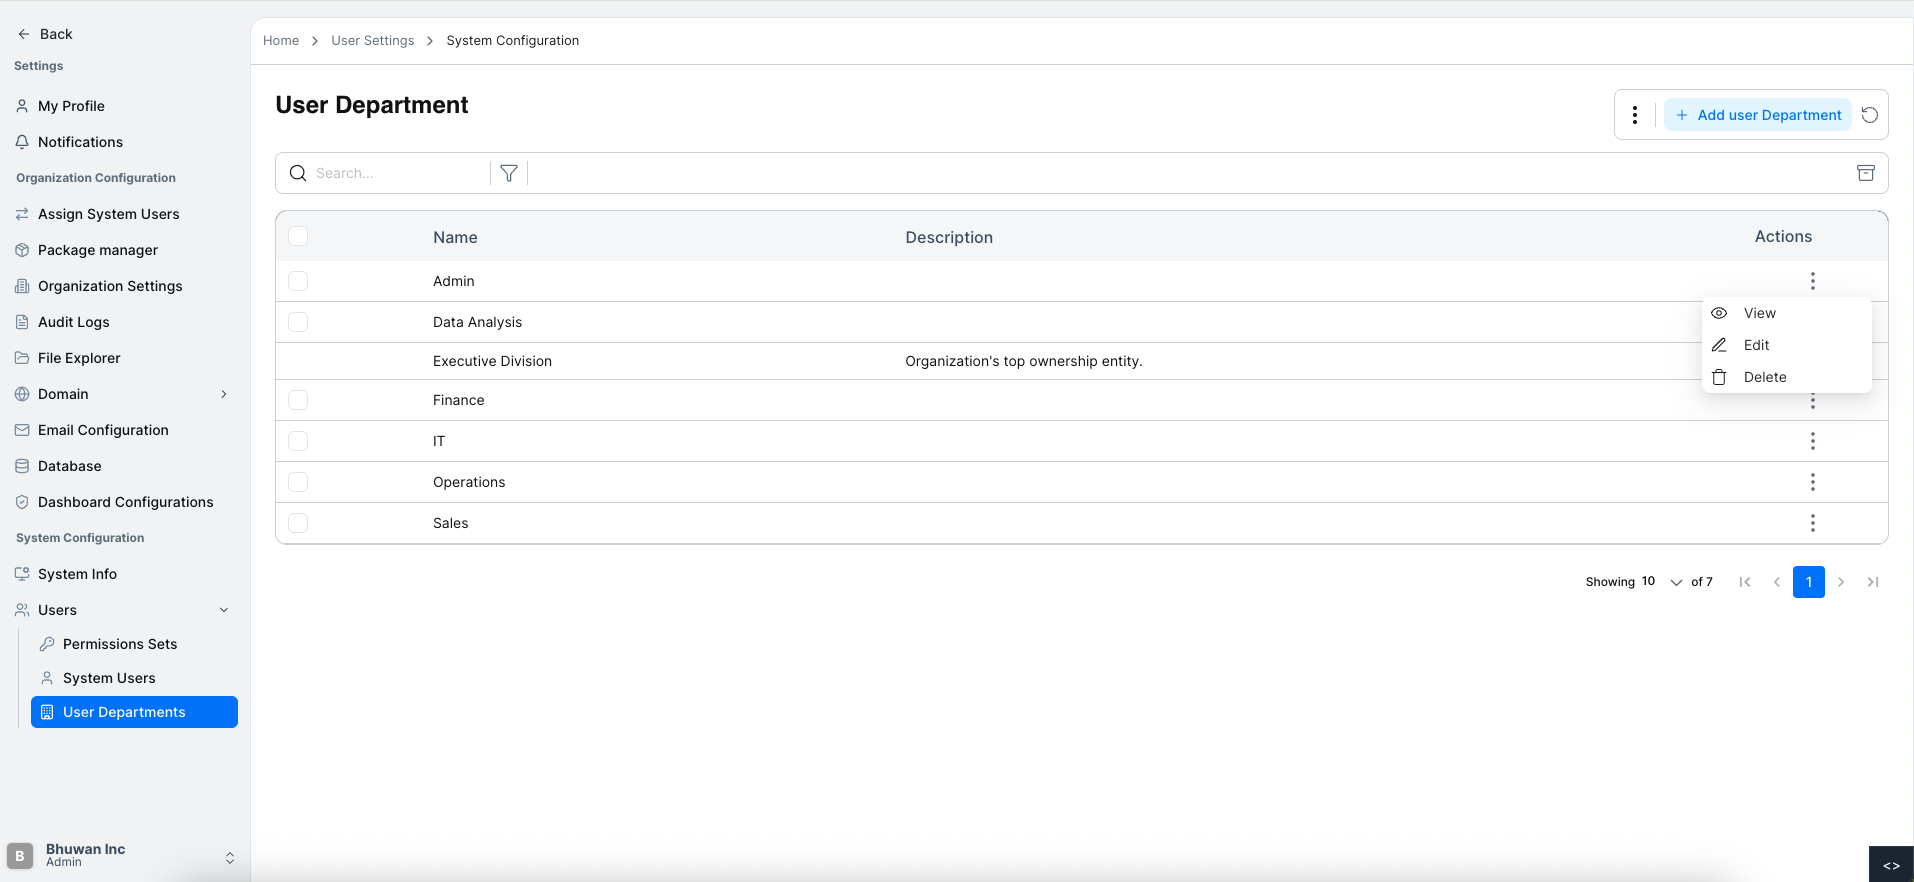
Table Actions
Each department row contains an Actions menu icon.
Clicking the icon opens a dropdown with the following options:
- View
- Edit
- Delete
These options allow administrators to quickly manage each department.
Viewing Department Details
You can view detailed information about a department using the View option in the Actions menu.
Steps to View Department Details
Open User Departments
Navigate to User Management → User Departments.
Open the Actions Menu
Click the Actions menu icon on the department row.
Select View
Click View from the dropdown.
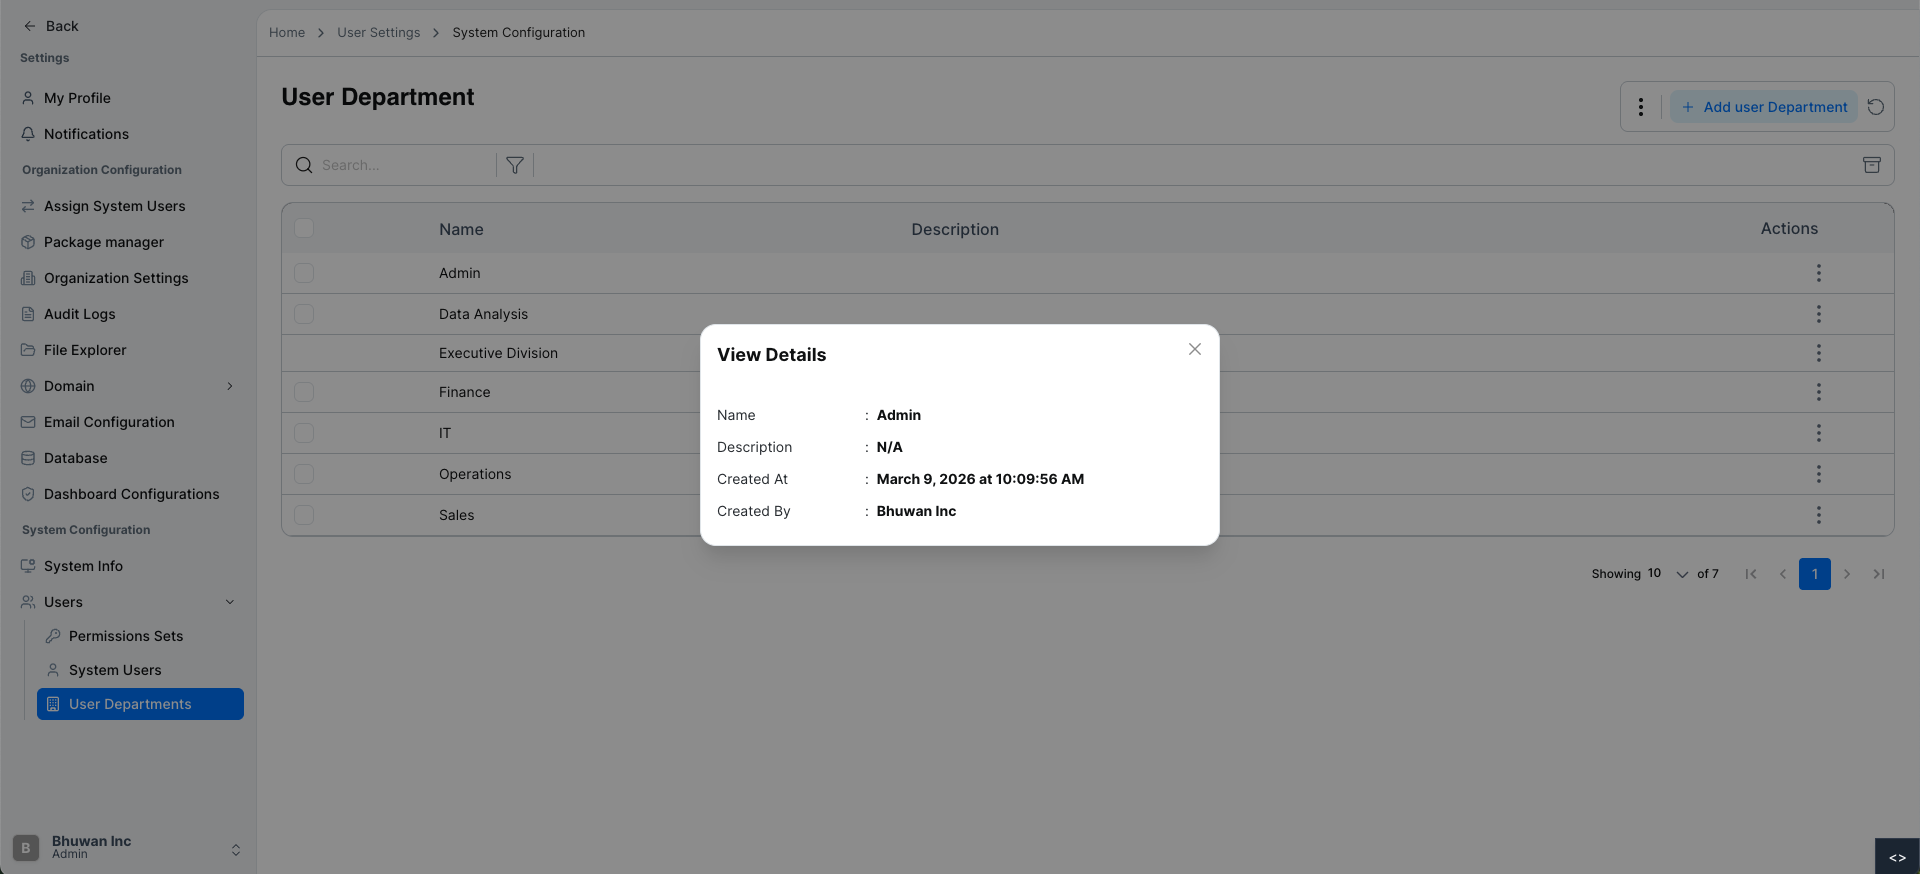
Review Department Details
A details panel will display:
- Department Name
- Description
- Created At
- Created By
Editing a User Department
Existing departments can be updated when necessary.
Steps to Edit a Department
Open User Departments
Navigate to User Management → User Departments.
Open the Actions Menu
Click the Actions menu icon next to the department.
Select Edit
Click Edit from the dropdown.
Update Department Details
A side edit form appears with:
- Department Name
- Description
Save Changes
Click Save to update the department.
Deleting a User Department
Departments that are no longer required can be removed.
Steps to Delete a Department
Open User Departments
Navigate to User Management → User Departments.
Open the Actions Menu
Click the Actions menu icon next to the department.
Select Delete
Click Delete from the dropdown.
Confirm Deletion
A confirmation modal will appear asking if you want to delete the department.
Confirm Action
Click Confirm to permanently delete the department.
Once deleted, the department will be removed from the list.
For additional assistance or detailed guidance, please refer to the help section or contact system support.