Dalfin Invoice Workflow
This guide provides a complete walkthrough for activating, generating, customizing, and sending invoices in Dalfin, covering both Manual and Stripe Integration methods.
1. Invoice Activation
Before generating invoices, the Invoice feature must be activated.
Step 1: Activation Requirements
To activate invoice generation:
- Provide an Invoice Number Input.
- Enable the Invoice Switch.
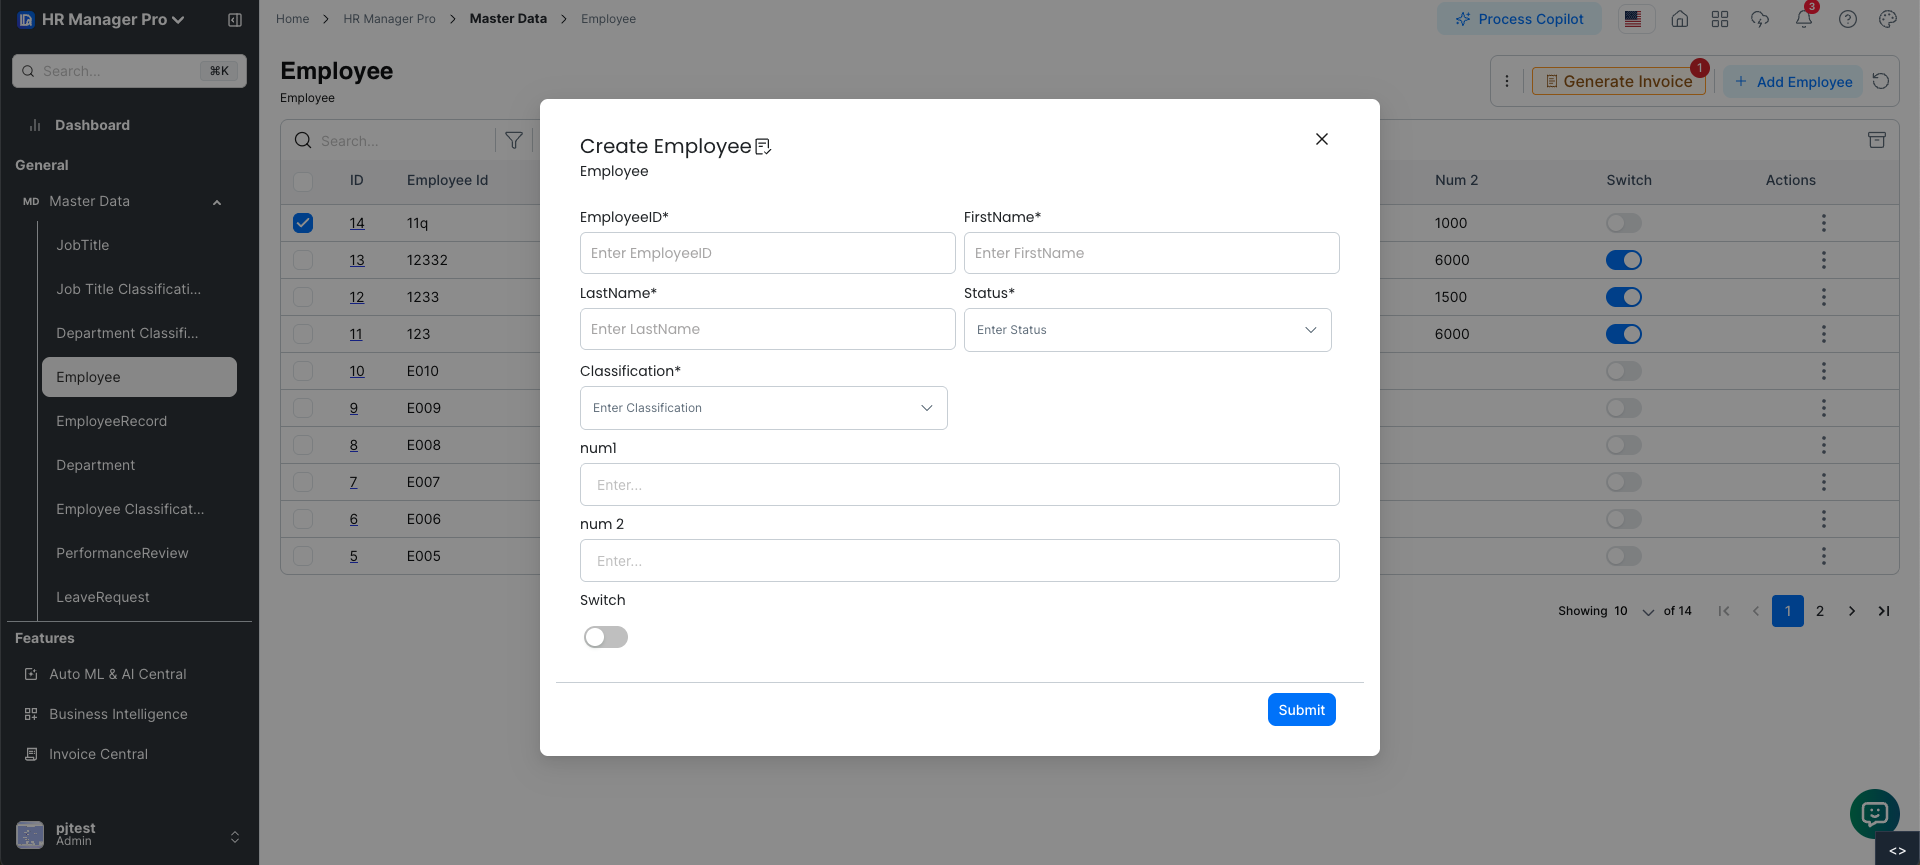
Once the invoice feature is activated, the Generate Invoice button will become available.
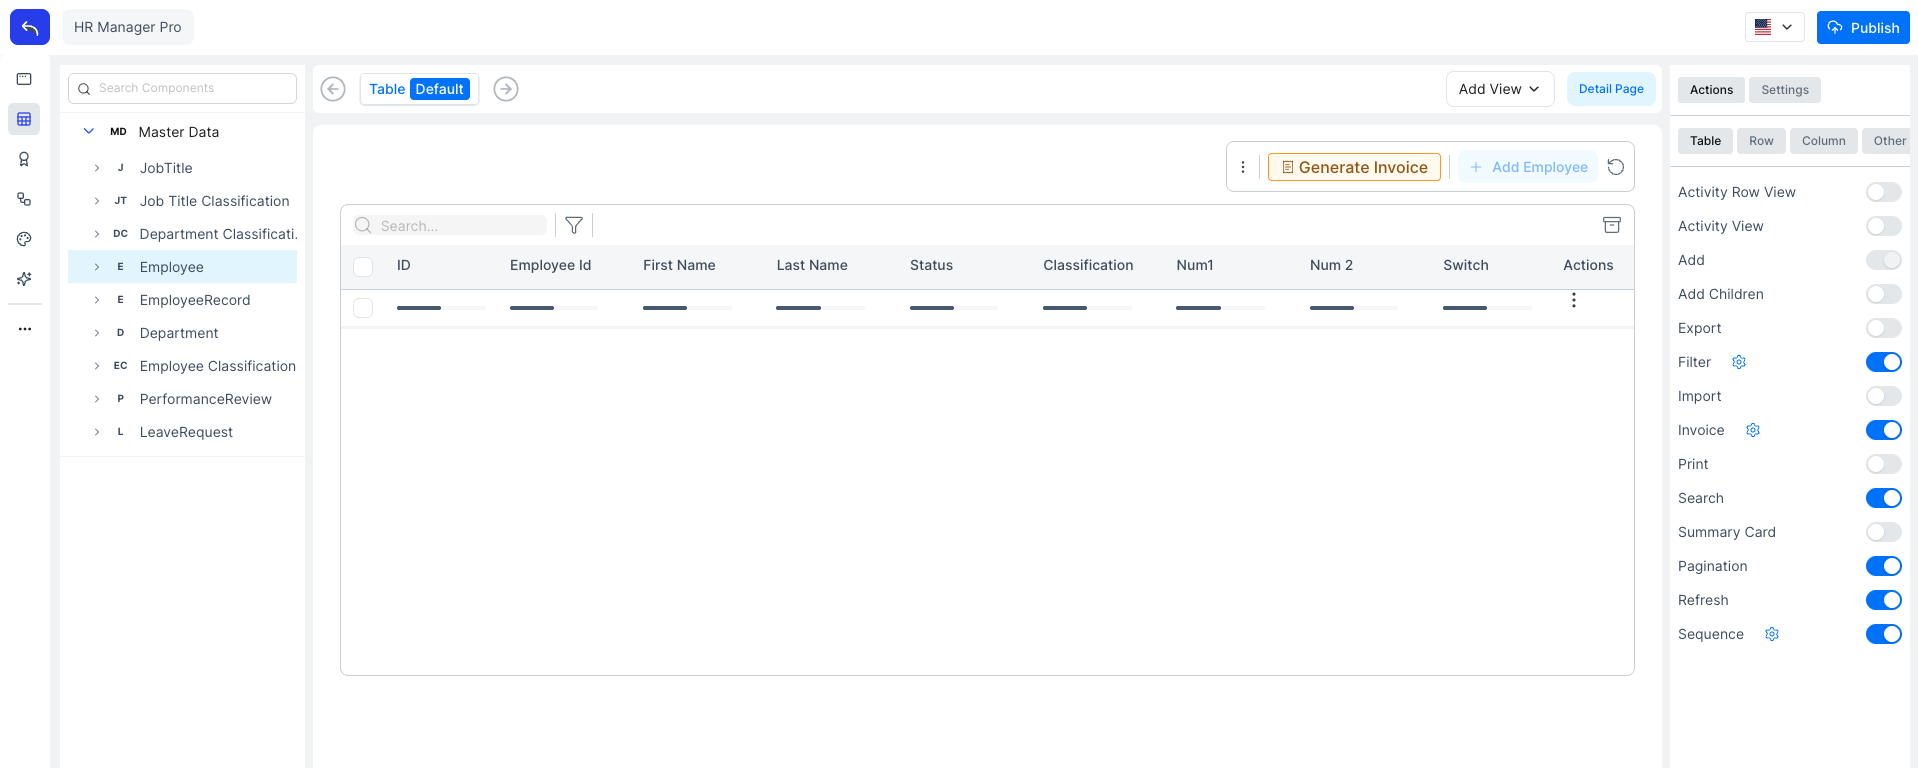
Step 2: Adding the Invoice Feature via BrainGrid Window Builder
If the invoice feature is not available:
-
Open BrainGrid Window Builder.
-
Drag and drop the required fields for invoice activation:
- Invoice Number Input
- Invoice Activation Switch
-
Publish the window configuration.
-
Go to View Manager and enable the invoice feature if it’s not already active.
-
Click Publish to make the invoice feature live.
-
Navigate to the Invoice List in the system.
-
From the list, select the Generate Invoice option to create a new invoice.

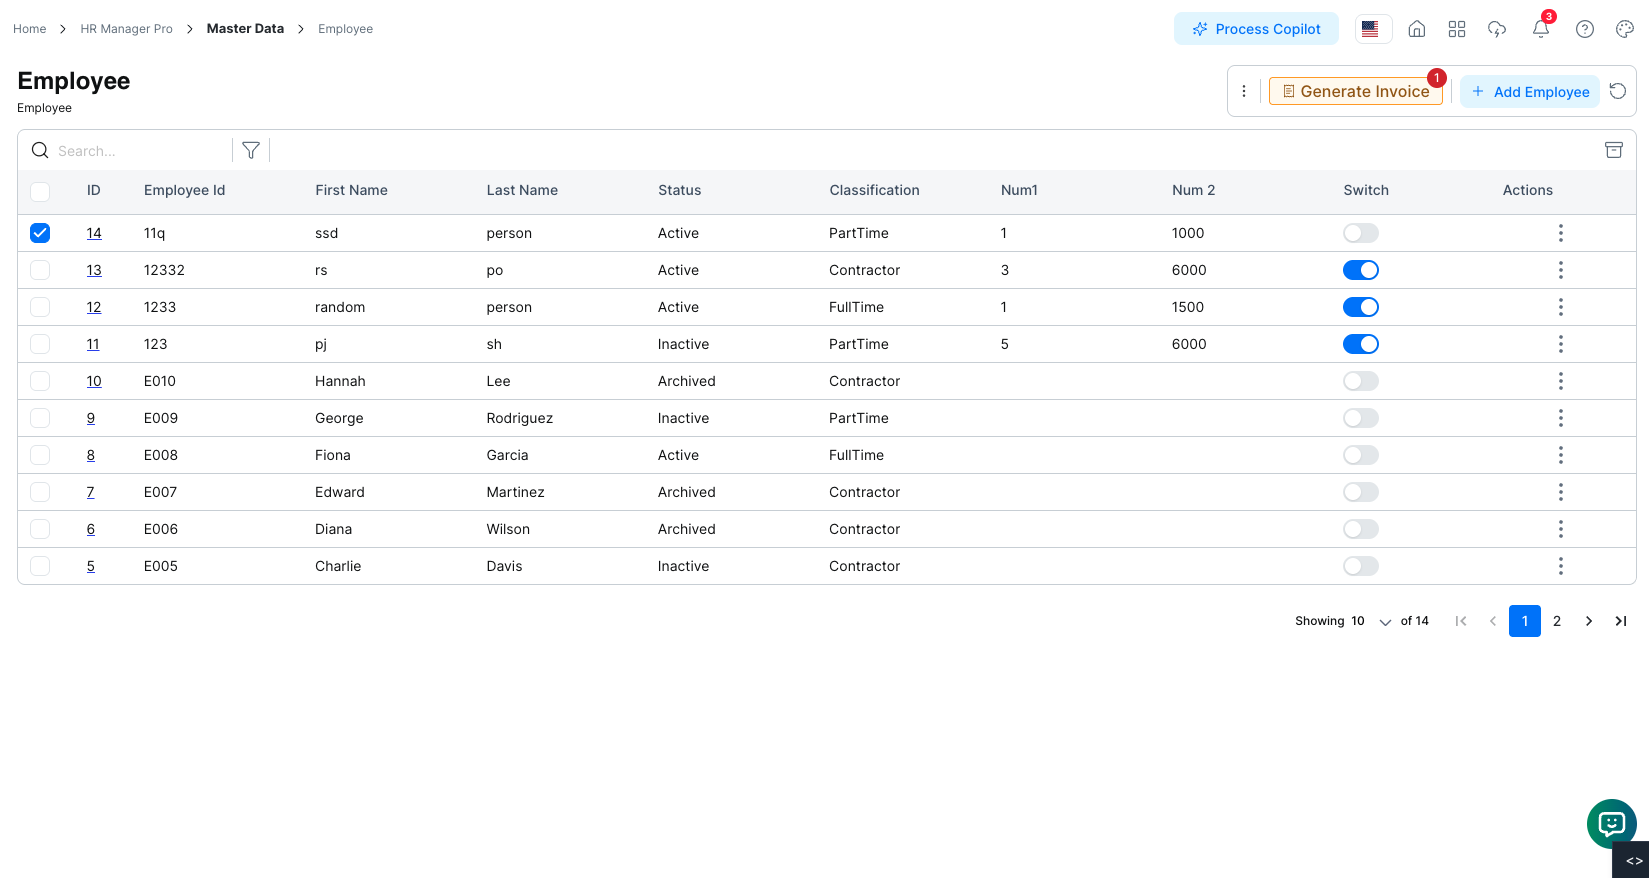
This ensures the invoice feature is fully added, activated, published, and ready for generating invoices.
3. Sending Invoices
Follow these steps to send an invoice:
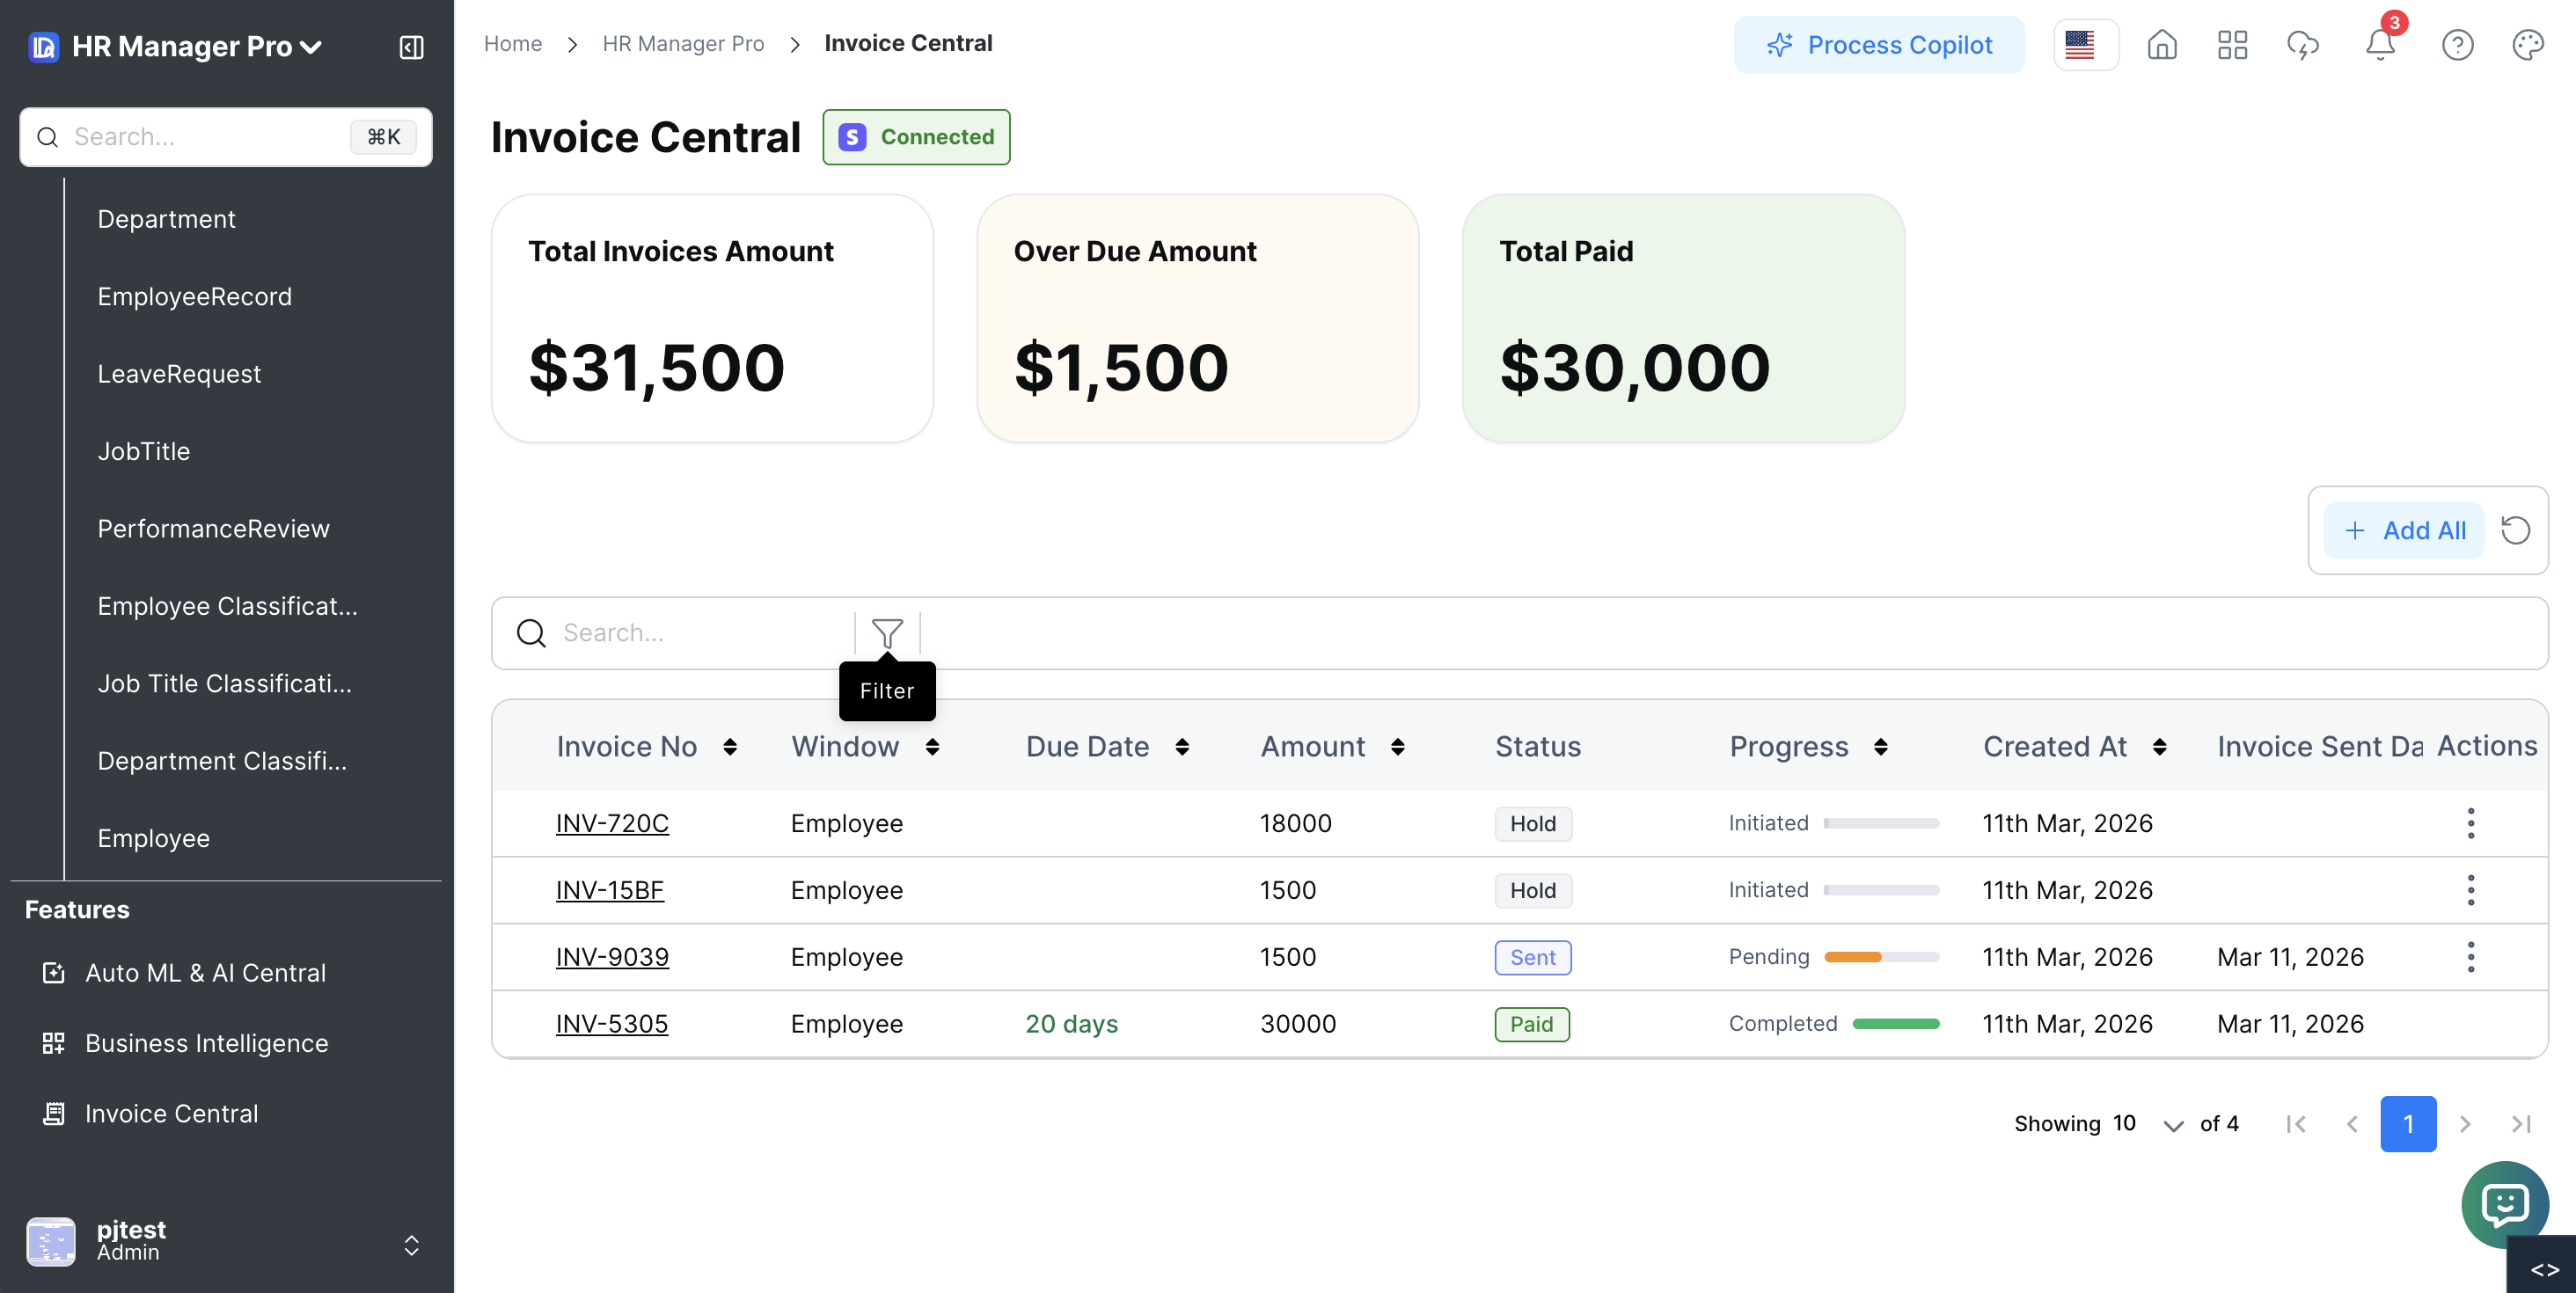
Navigate to Invoice List
-
Go to Invoice Central.
-
Click on the Invoice Number to open the edit invoice form.
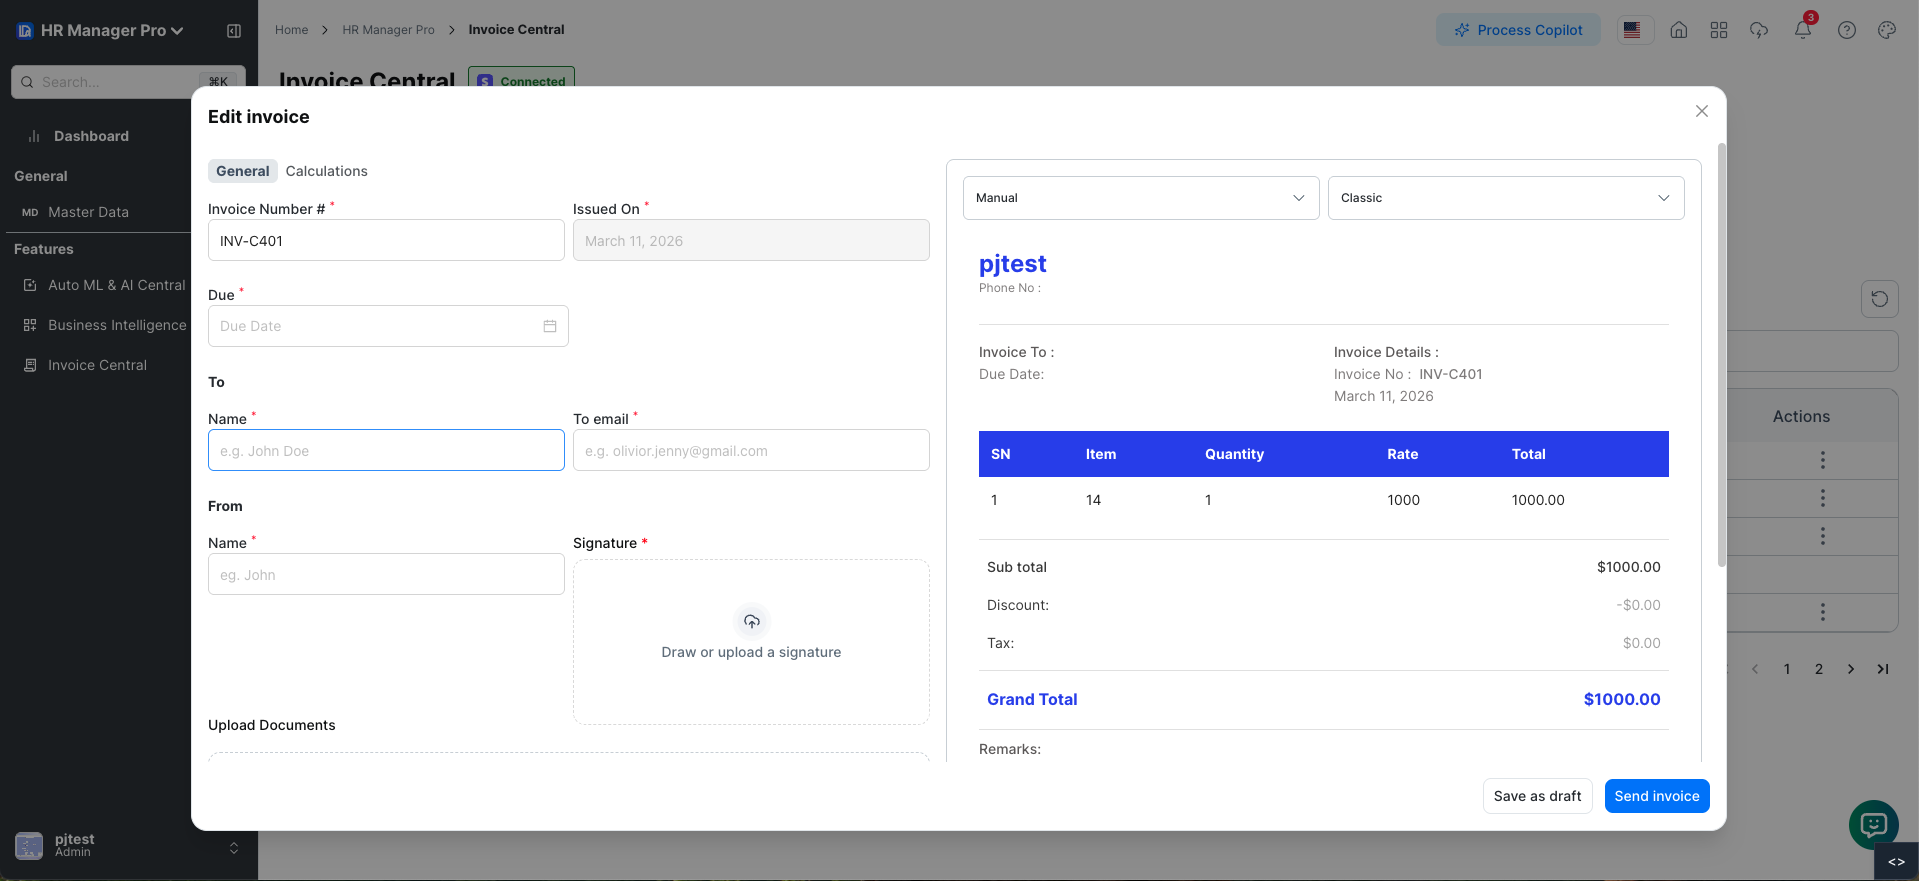
Fill Invoice Details
Complete the following fields:
- Invoice Information: Invoice Number, Issued On, Due Date
- Customer Information: Customer Name, Recipient Email, Sender Name
- Signature: Upload or draw signature
- Documents: Upload supporting documents (optional)
- Remarks: Add notes if needed
- Items Table: SN, Item, Quantity, Rate, Total
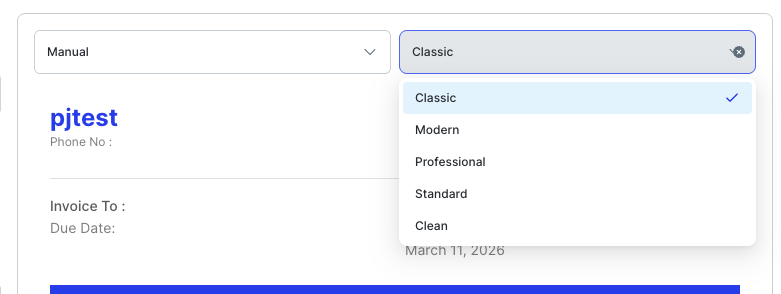
Invoice Templates
Dalfin offers five invoice templates for selection:
- Manual
- Standard
- Classic
- Professional
- Clean
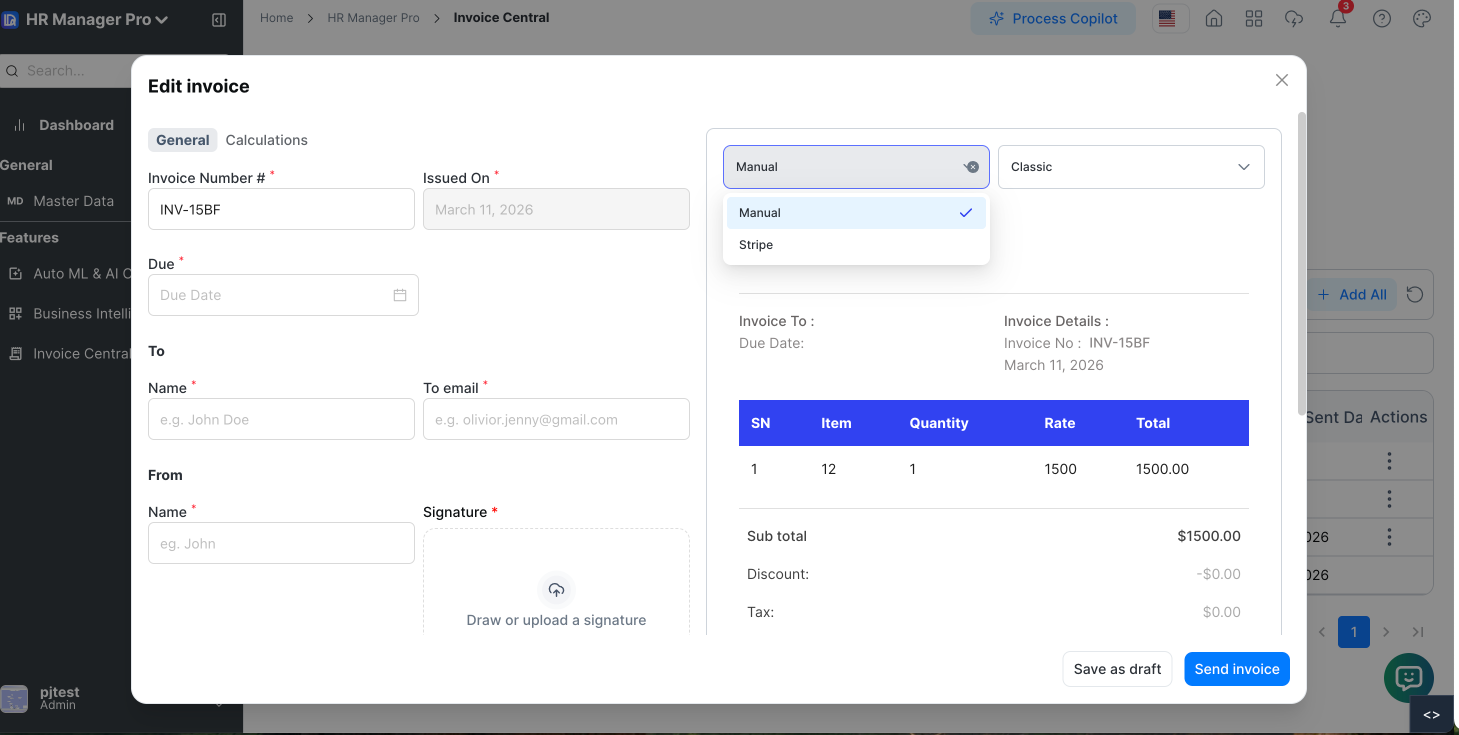
Choose Sending Method
Select one of the following options:
- Manual: No payment link
- Stripe Integration: Includes payment link
Verify Calculations
- Review totals, discounts, taxes, and final amounts in the Calculation Tab
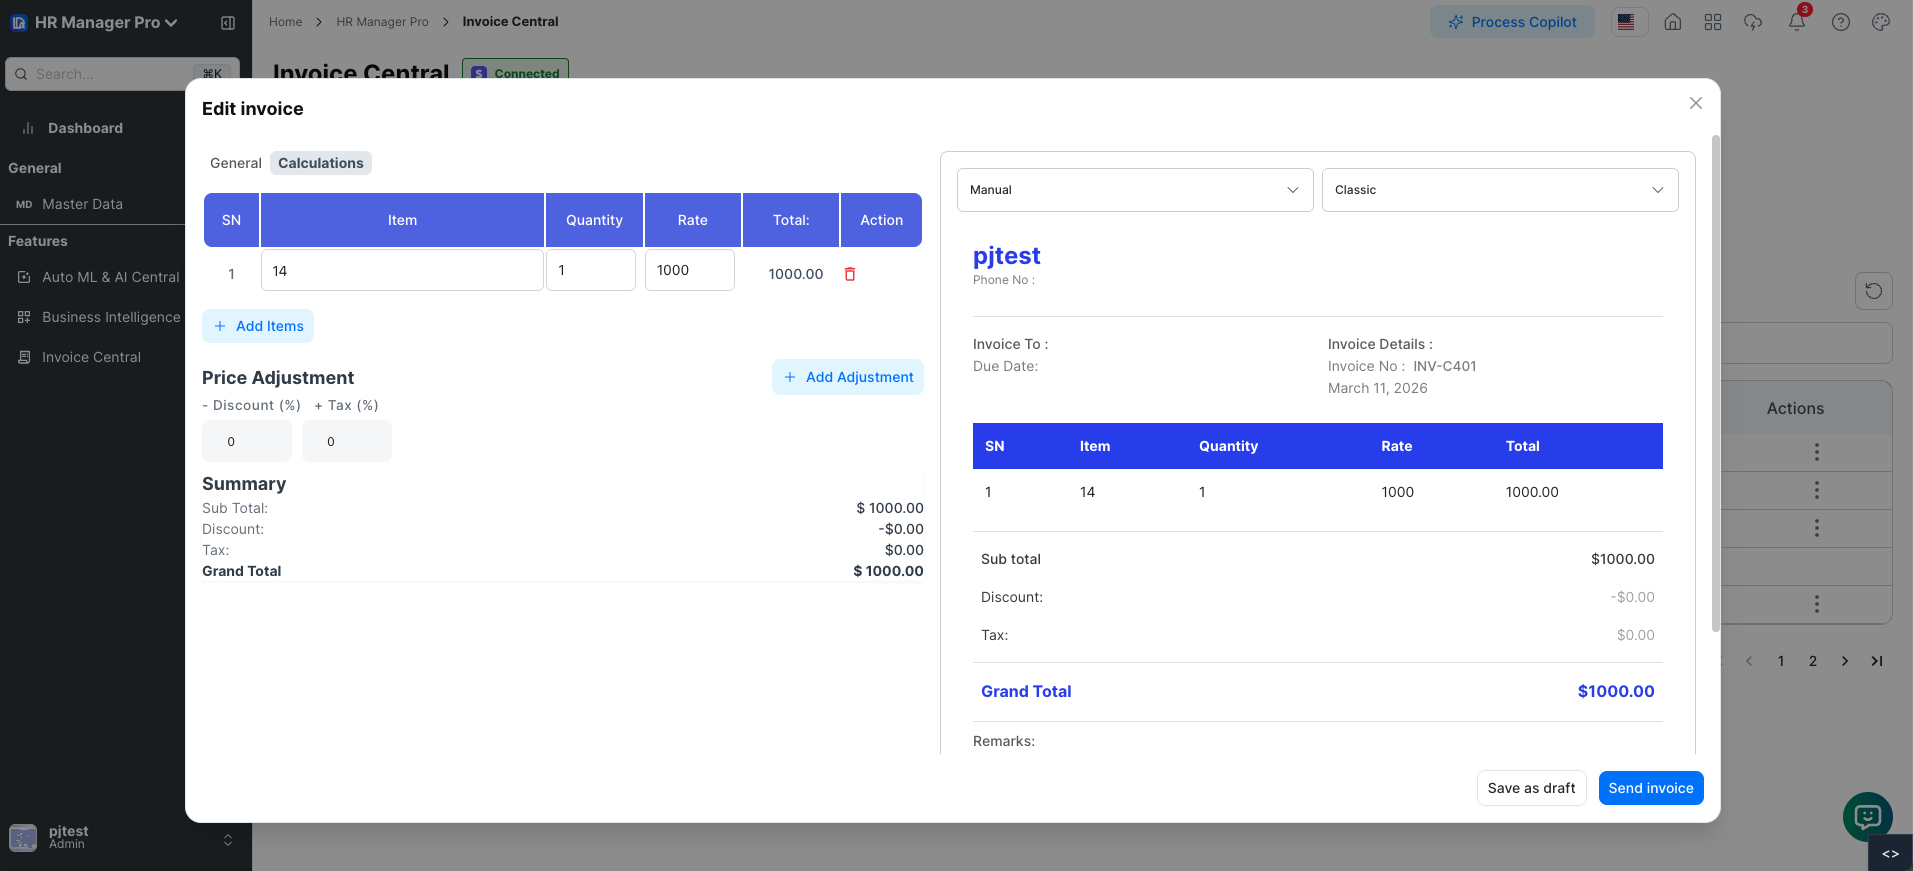
Send or Save as Draft
- Send Invoice: Dispatch invoice via email
- Save as Draft: Save the invoice without sending (editable later)
All required fields must be completed before sending. Drafts can be edited later if needed.